How to make paper mushrooms for your lanterns and free printables
May 12, 2014
mushrooms in your lanterns? why not I say!! I have to admit I do love mushrooms I love eating them I love looking at really strange and beautiful photos of them on Pintrest. I have collected a small collection of ceramic mushrooms over the past few years. Weird? not to me. I love to garden and I love small things and I love the touch of nature in my décor.
I found the most beautiful photo of little paper mache mushrooms from a French blog that is no longer available. I just wanted to cry because I wanted to know how to make them. I searched Esty and found some very expensive ones and thought I can do that! So I did.
1. First you need to gather those Easter eggs that you just put away
2. Pop them open and cover them in saran wrap, just so that the paper mache wont stick to the egg and will come out easily.
3. Then the fun part begins you might want to enlist your children help, they love this kind of thing. I used paper from Ikea that I shredded into strips but you could use tissue paper if you wanted them smooth (which I did not). Soak the paper in 1 part water 1 part glue and 1 part flour. then start going to work. You don’t want a thick layer just two or three layers over lapping each other.
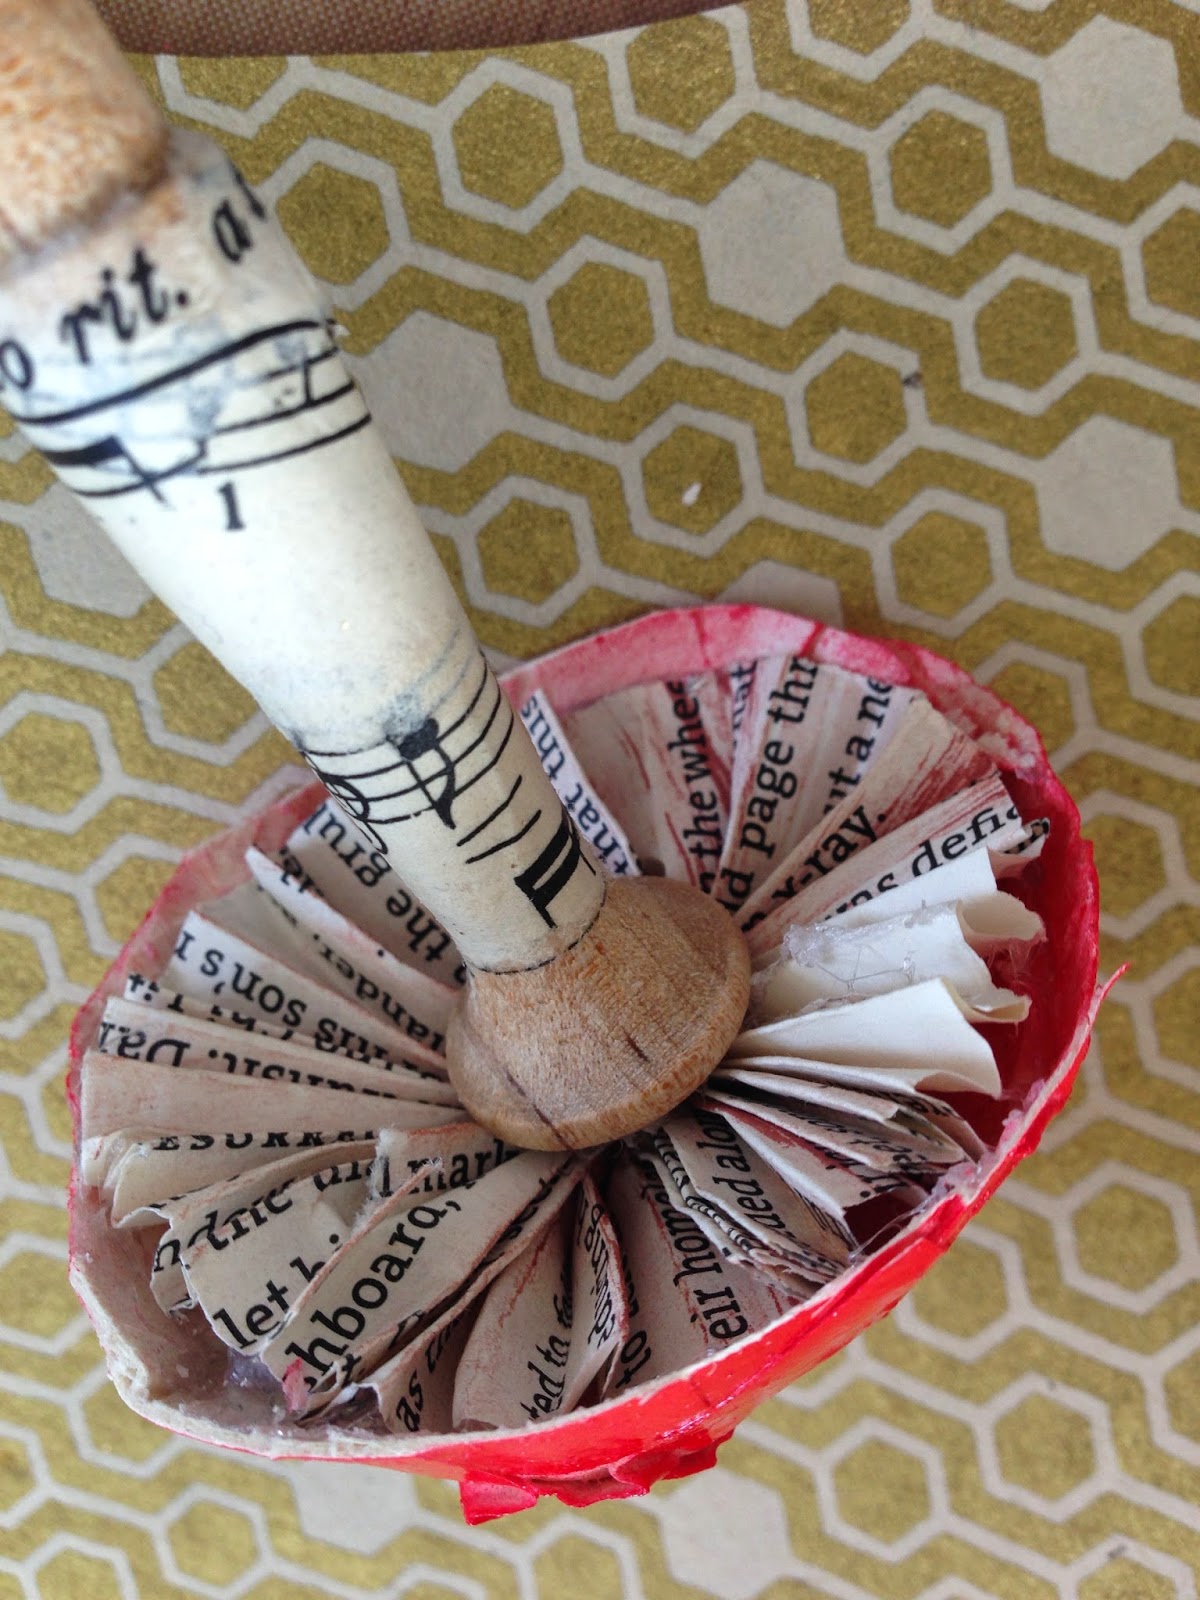
5. the insides were a bit of a puzzle I wanted them to look like my photo but couldn’t figure out how they did it so I just added a lolly. I used vintage book paper and sheet music to create my lollys and wouldn’t you know, it looks like underside of a mushroom who knew?
6. The stems were a dilemma I found some cute pegs that I covered in book paper, I also used dowels, clothes pins and a broken pencil. LOL I guess what ever you have will work as long as you cover it with sheet music or paint.
8. The fun part is putting them in your lantern’s. I just stuck them into little moss balls I found at the dollar store. I did want a cute background in my large lantern so I printed a mushroom onto some sheet music I had left over. It also looked cute on some old book paper I had. That tutorial will be next on the blog.
Don’t forget to add a cute flag or spring time tag from my last post. These make cute little tags for gifts too.


