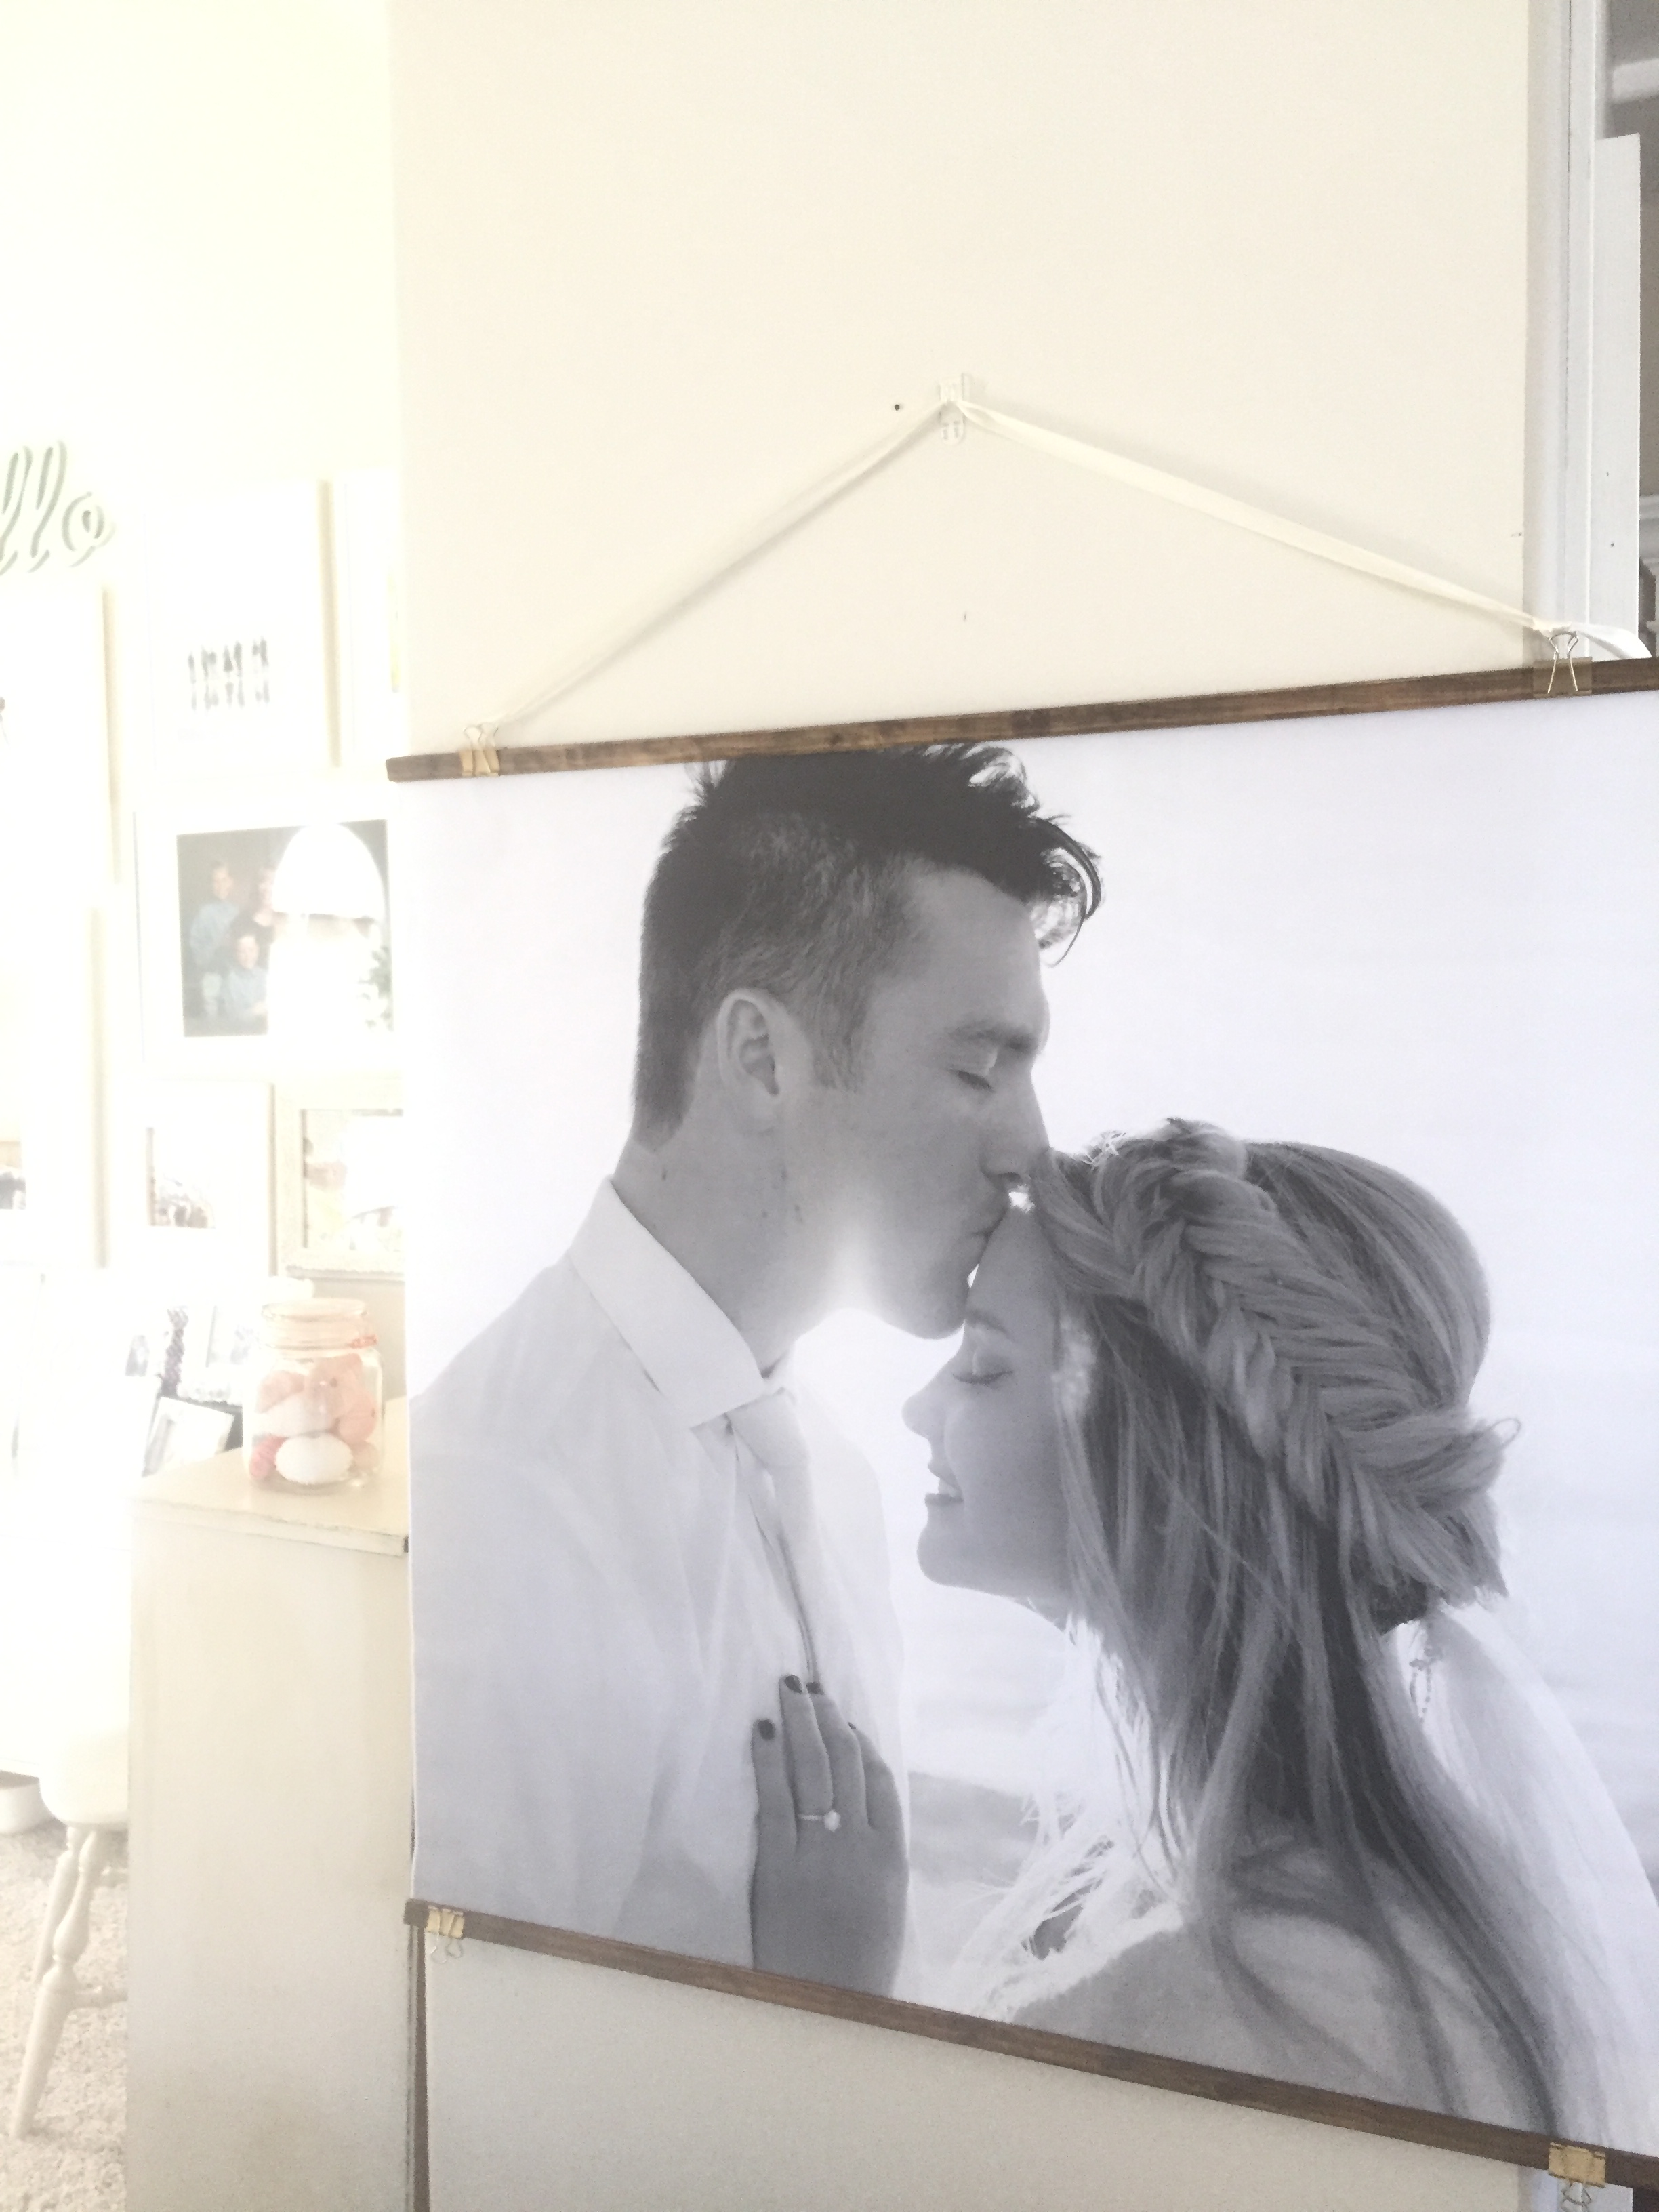
How to make a modern extra large frame for your engineered prints or posters.
August 3, 2017
How to make a modern extra large frame for your engineered prints.

I’m so totally in love with these extra large engineered prints. I know I keep using them in each wedding I do, I can’t help it the brides see my blog and then want to do them. Can you blame them? They are fun, cheap and easy to make. Not to mention that they take up a lot of space and can really fill a room! So get out your drill and stain and make a few of these frames I know you will want to use these for parties, weddings or in your own home! Lets get started on these modern extra large wood frame for your extra large photos and prints.
- Take a trip to the Home Depot and look at all the beautiful moldings then go one isle over and stand in front of the cheap boring lathing strips. That is what you are going to use. Pick out the width of the wood you that you would like to use. I did a mix of 1 1/2 inches and 1 inch for the smaller elegant ones. I had the guy cut them for me at 34 inches long. you want them all the same size so that when you sandwich them together they will be identical.
- Stain or paint the front side of the wood and let dry over night.
- Now you are going to have to decide the look you are going for. If you want easy, portable, modern and very industrial looking then all you have to do is sandwich your print in between the wood and binder clip them together. I used spray painted black binder clips gold, because that was the pretty elegant look I was going for. Binder clips come in lots of colors you can buy pastel colored ones HERE to match any decor.
- If you decide that you want a sleeker look then you can use magnets and eye hooks for a clean look, or even just go with picture frame hangers so that there is no strings, but I digress. First you will want to get strong magnets, the ones I got from Amazon HERE work the best, Not only are they thin they are supper strong, they are also small enough to hide well if you use a thinner piece of wood.

- After you stain you wood measure on the back where you want to counter sink your magnets.

- Use a drill bit that is a bit larger than your magnet. Then start drilling a hole making sure you don’t drill all the way through the wood. you want to drill about half way through so that the magnet will sit down into the wood.

- After you get your hole drilled drop a dot of E6000 into the hole. I used hot glue epic fail! and the supper glue was just too messy and thin. I’m a firm believer of using the best stuff for the job and this is it! you can find it at most craft stores or HERE on amazon.

- Let dry for about a day so it’s completely set. Done now you are going to need to hang it here is where you need to decide if you want eye hooks and ribbon or picture hooks on the back.
You can use this same idea using rulers for a cute frame for your kid’s school work that is too soon, to be all over your fridge. No need to use two pieces if you want to stick it to your fridge just glue the magnets to the rulers and use as fridge magnet. But you can do the same thing as above but on a smaller scale to hang in your kids rooms with their never-ending, revolving art work! 
I even glued magnets to pieces of wood to create a cool little frame for my teenage boy. I mean how many straight things are there out in the world that are begging to be made into frames.


[…] the tutorial by The Glitzy Pear I sent a photo of my daughter to a local print shop to be printed 24″ x 36″. It […]