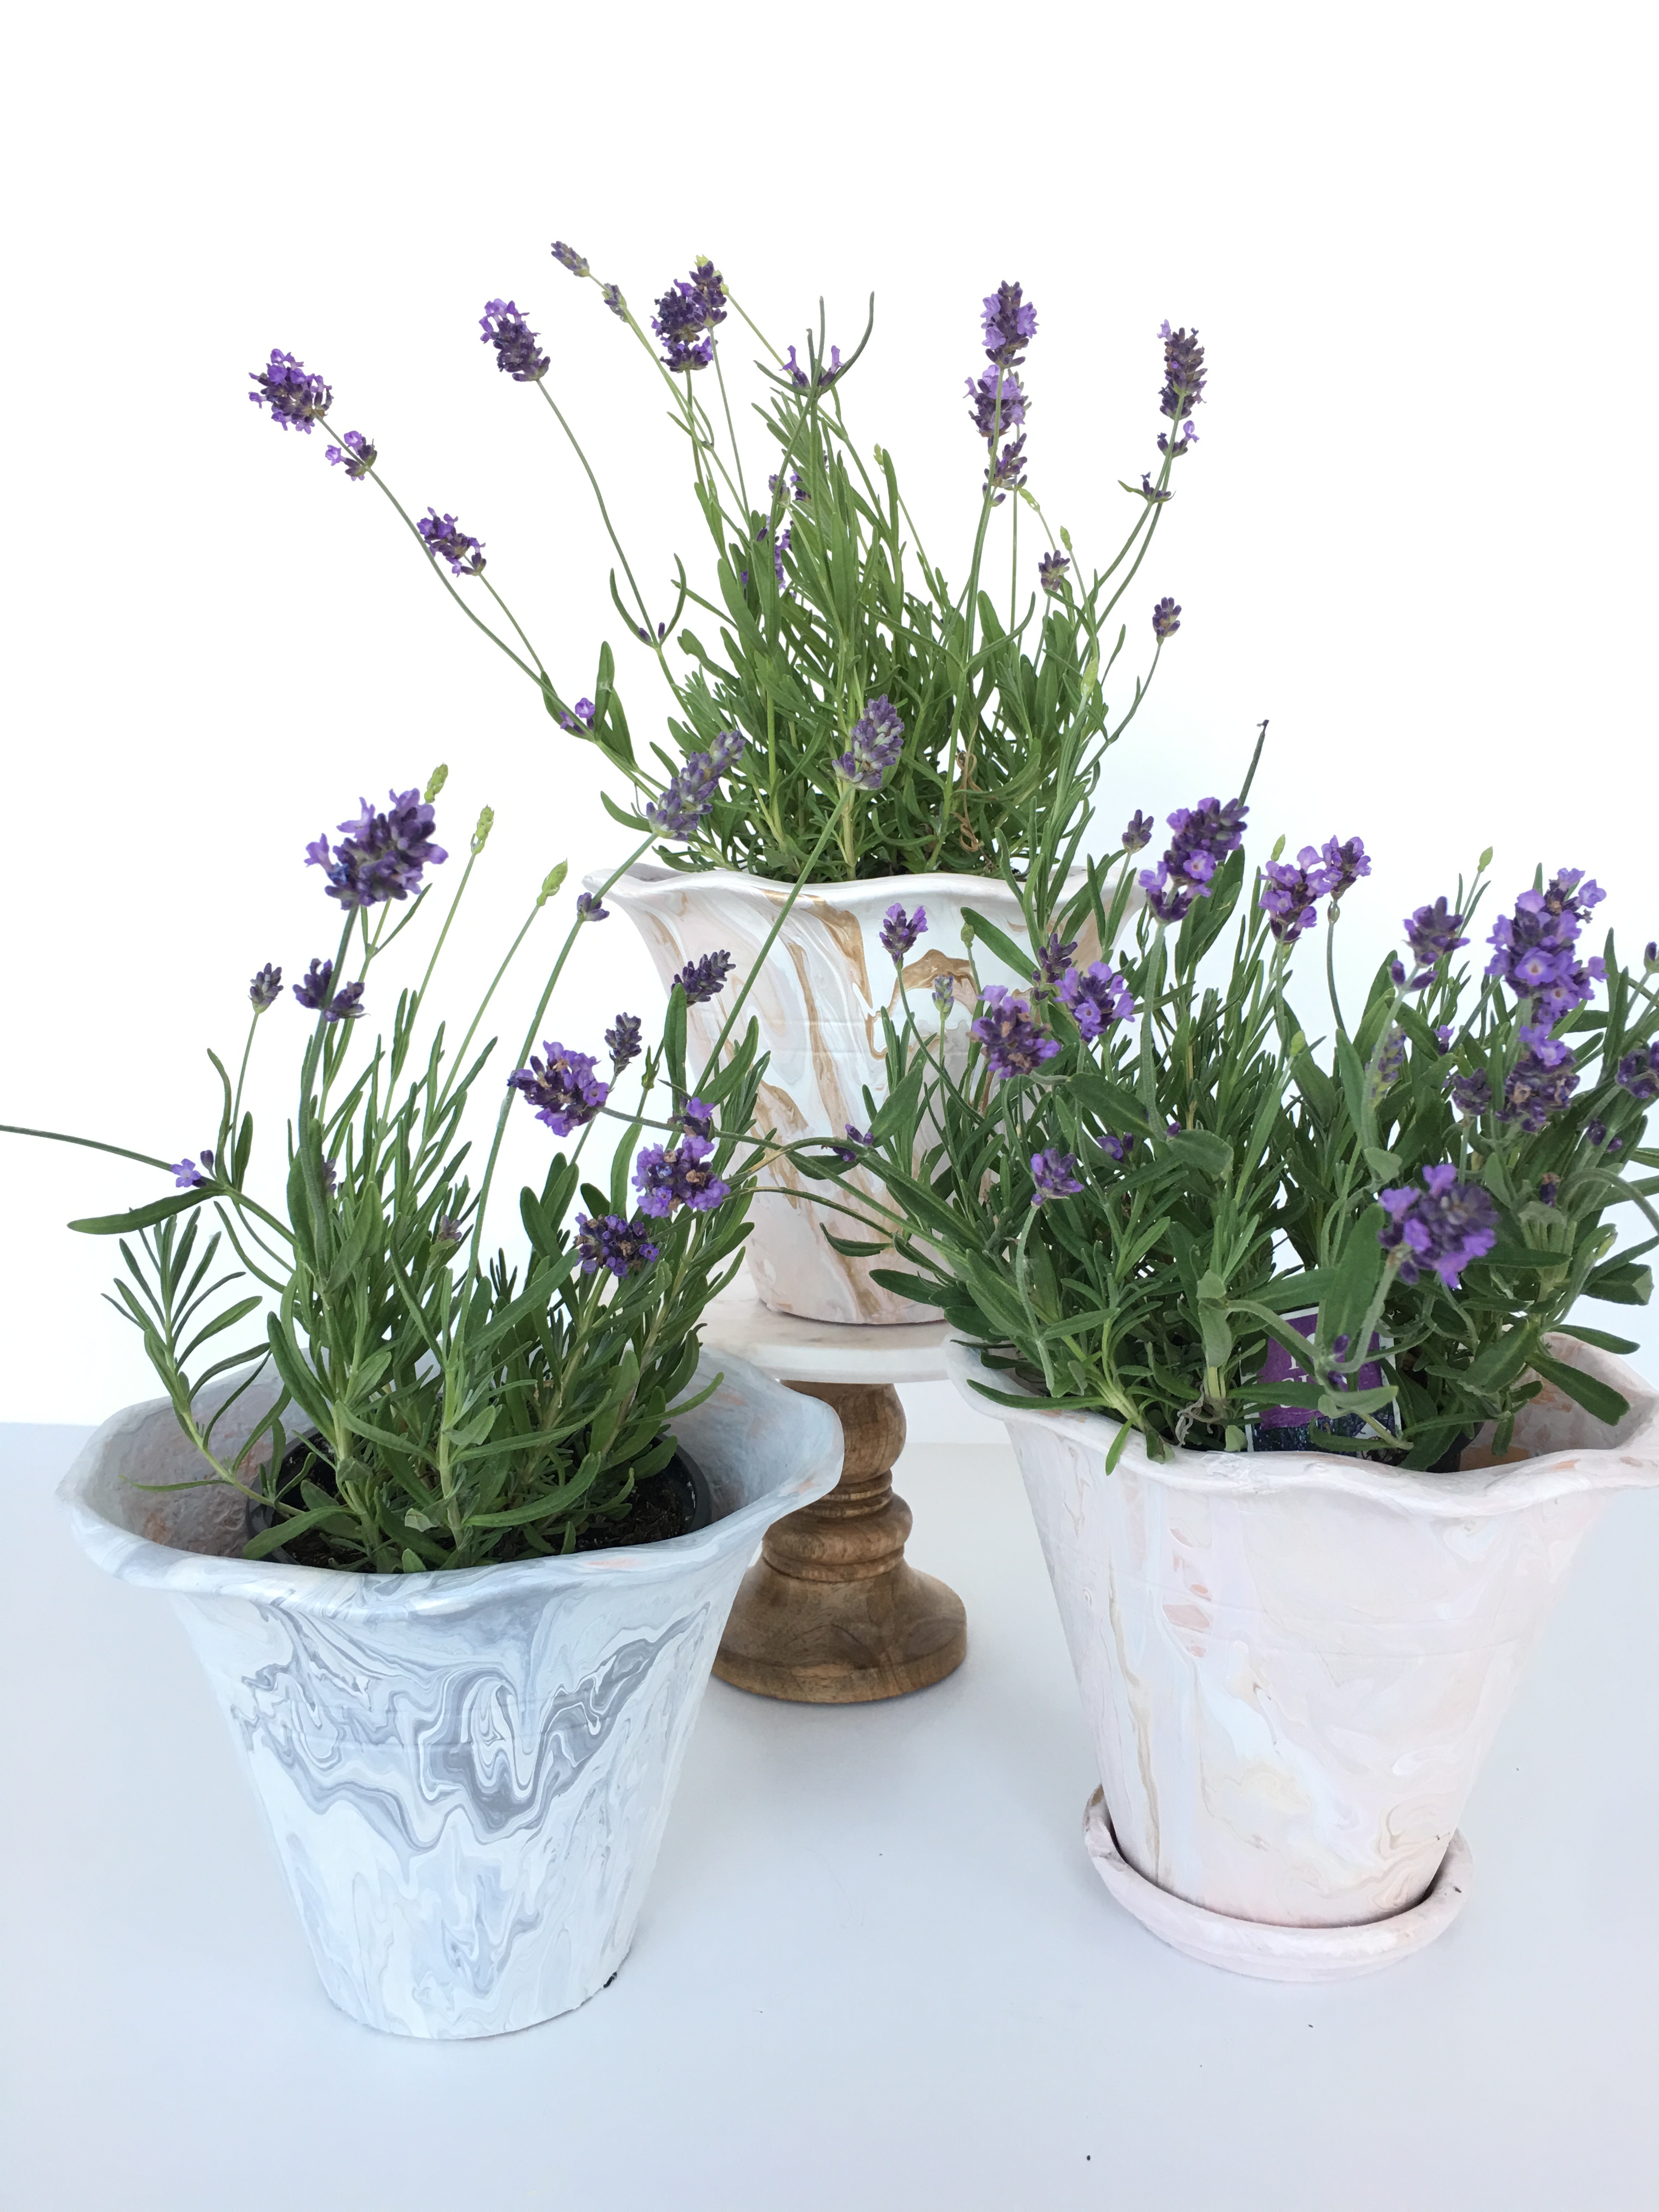
How to pour paint a pot to look like Marble.
#2 DIY, tutrorials, free printables, videos, crafting, kid things, lifestyle living, party decor, studio 5, tutorial
June 12, 2018
 How to pour paint a pot to look like Marble
Ever year come summer time I just want a landscape artist to come over to my house and create me a tropical oasis LOL Yea that’s not going to happen! But I can make small changes and dream of Hawaii vacations. I love having lots and lots of yummy smelling plats around me when I’m out on my porch. So I decided to buy some lavender plants and sweet smelling herbs to put in pots on my outdoor table. I looked around the Depot and found that they only had terracotta pots and I wanted something more special. So I bought the prettiest ones I could find and went to town with the pour paint technique! If you have been to my Instagram you know I love white and marble so that’s what I created for my table. Do you want to know how to use the pour paint technique to make a pot to look like Marble? Ok, let’s do this Marblized pots coming up.
What you need to pour Paint a marbled pot.
- Pot-got mine from Home Depot
- Paint –Sherwin Williams house paint works really well
- water
- cups– lots and lots of plastic cups
- straws or something to stir the paint with
- table covering paper or plastic tablecloth
- gloves– you will thank me later
Step 1-Cover your work surface
sound obvious right? I was so excited to try this I forgot to cover my table and the paint was everywhere. I know I know I’m a seasoned crafter but I was just doing a small test pot. Oh heaven help me it was messy so please please please cover your table first thing! And I did invest in a large paper roll of craft paper that I’ve used as table coverings wedding runners placemats and more just saying I had this and I still forgot. ( insert eye roll here!)

Step 2-Mix your paint
This is the fun part of pour painting a marble pot. I looked up real photos of marble on my phone and tried to see what colors I needed. Um, bottom line you can do any color as long as you use lots and lots of white. I wanted a natural color but didn’t want it just gray and white so I did some that had blues and some that had pinks. I loved them both and feel like you could use any color that would go with your style. I mixed about a 1/2 cup of paint with 2-3 T of water to get a thinner consistency. Heres where your straws will be your friend in the mixing of the water. If you are using craft paint you might have to add more water. You don’t want the paint to be runny or all the colors will mix together and if it’s too thick like pancake batter then it won’t marble together well either. All the paint should be about the same consistency, Here is where a sample pot will be helpful.

Step 3- Make the pour paint mix
Don’t be intimidated by your paint. chose about 4 colors to work with or if you have very similar colors you can have a few more. Start layering the paint in a clean cup. I added about 1/4 cup white paint and then a few Tablespoons of the colors I wanted in the veins of the marbled pot. At the end, I added silver or gold to add a vein of cool metallic color.

Step 4- Pour Paint
I did my pour two ways. The first way I sat the pot on a bottle and just poured the paint letting it run off. It resulted in a beautiful kinda straight look. I wanted a more organic look so I picked up my pot with my hand inside and turned the pot as I poured. Now, this was the look I was going for. I love this look, but it has to dry on a bottle and some of the lines continued to go back to being straight. If you can find a handle to your weight bench like I did you might let some of them dry on an angle. Ha Ha

No two pour paint pots are the same, that’s the fun part about this project. It truly is a work of art! remember when I did this on Canvas? you can see that here. I think I’m obsessed with this technique and I have loved doing this on canvas and pots, who knows what else you can do this on?
Thanks for visiting and thanks for using my links, this helps me keep this blog up and running, so bless your hearts for visiting.
