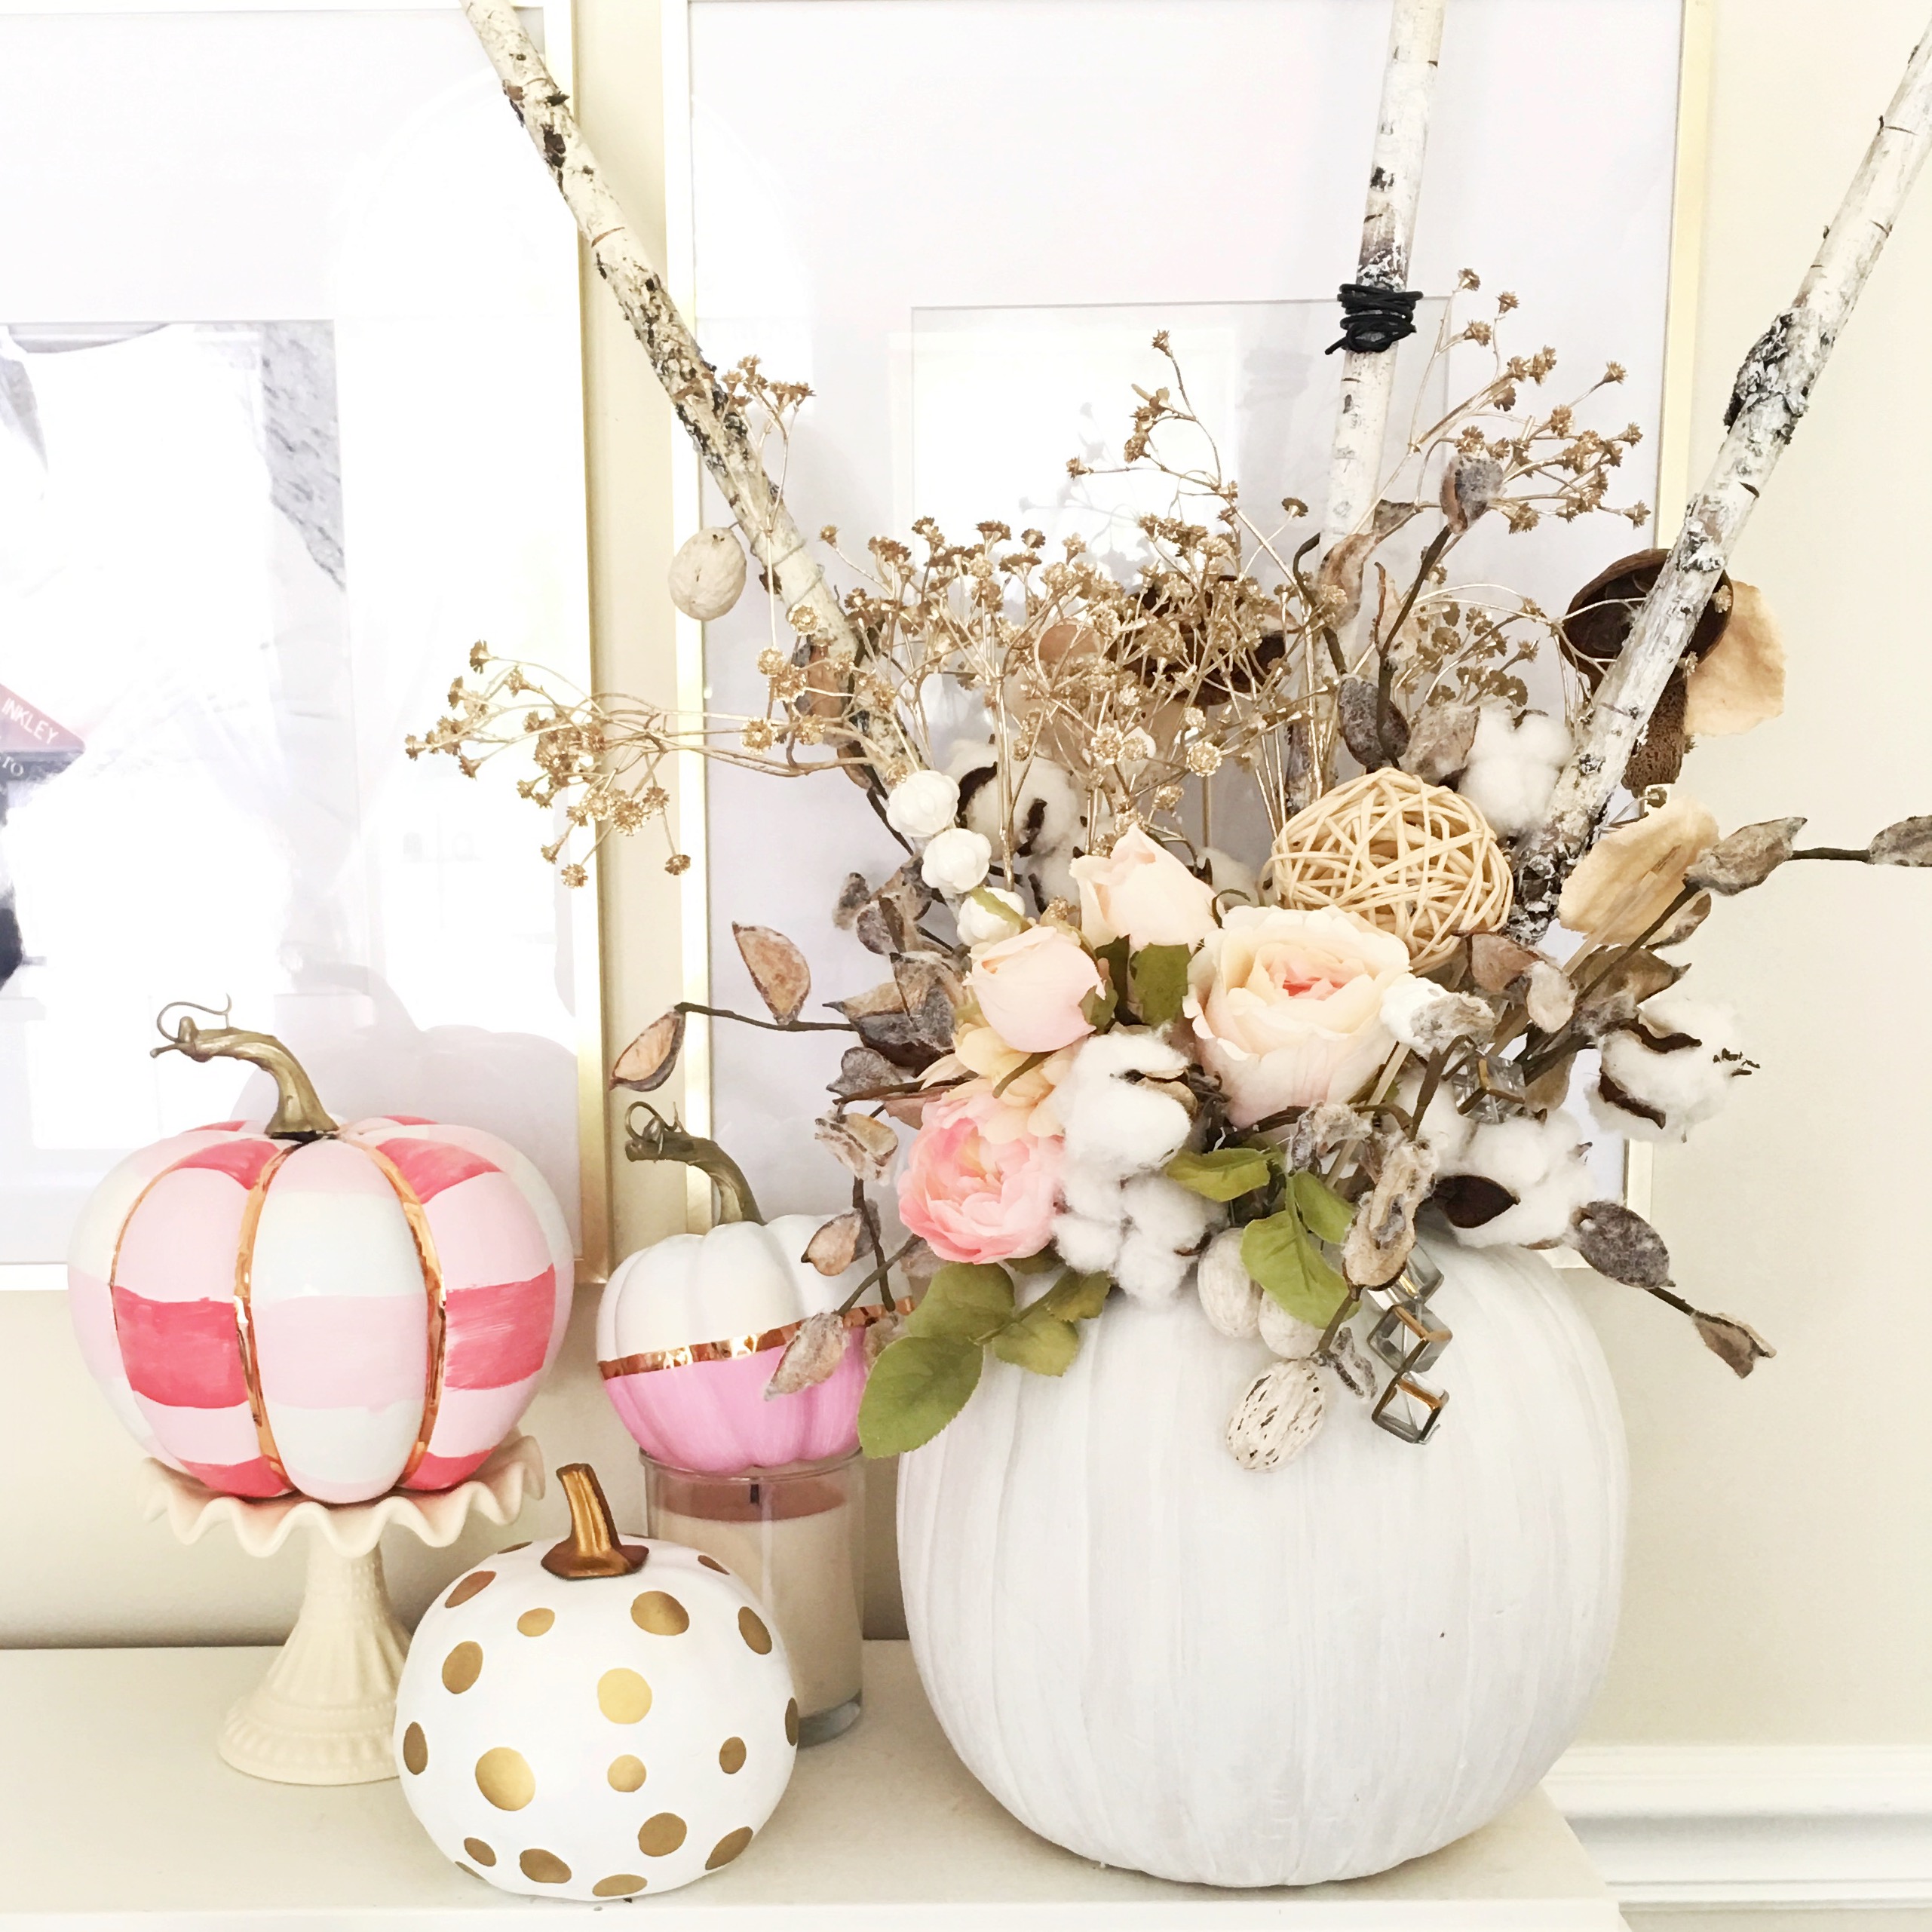
How to paint a plaid pumpkin
September 17, 2018
How to Paint a Plaid Pumpkin
If you are a traditionalist you might not like this post. I’m going to show you how to paint a plaid pumpkin. My need for alternative fall decor came about when I was pregnant with my last child. I was so sick but decided to get out all the fall decor anyway. Needless to say, laying sick on the couch for three months looking at dead leaves and orange pumpkins made me hate brown and orange. the following year as I was getting it all out again I hated it all. LOL so in the donate pile it went and I didn’t decorate for fall that year. The following year I started using faux white pumpkins with some decopodged book page covered pumpkins and my love for fall decor was restored.
I love white and pops of color, and I like to keep my fall decor light and bright. However this year i decided to do something kinda crazy and paint some pumpkins hot pink! Sometimes you need your decor to make yourself happy. I’m in my office a lot so I decided to make a few happy pumpkins for my shelves.
This is what you will need
- faux pumpkins find them on Amazon or a craft store.
- craft paint
- gold thin tape
- spray paint for the stems
- washi tape or frog tape to color block
Step 1 paint
Most faux pumpkins are not white. They come cream or orange, you will need to spray paint them white after removing the stem. The stem will be spray painted gold. use long back and forth motion for the spray paint you don’t want any drips. Make sure the can is about a foot away from the pumpkin. The stems will need just a little shot of the gold spray paint. I love the Rustoleum gold its not as brassy. but for this craft whatever you have on hand would be fine.

Step 2 tape
After your pumpkins are dried you are going to want to tape off your design. I did this for the color blocking pumpkins but for the plaid pumpkin, I used the pumpkins natural lines. Yes, it is a bit artistic, if you want to be more precise use the washi tape to tape off lines. You are going to want to use washi tape and not masking or scotch tape because those might pull off the paint. nothing is worse than doing a project and having to redo it. paint every other pumpkin bump pink. If you are using a real pumpkin you will have to tape because the natural lines are never this even.
Step 3 horizontal strips
I eyeballed this step, if you are a perfectionist then use the tape. I was in a big fat hurry and didn’t have time to be perfect. I’m loving that magnolia buffalo checked wallpaper that looks painted. Its kinda messy and has the brushstroke lines in it. Yup, I wanted that look. If you want a more modern crisp look use the tape and do two or three coats of paint so that the colors are very saturated. Use the same color of paint you striped your pumpkin with in step 1. just go around the pumpkin evenly. Its hard to see the ballerina pink stripes, I did three horizontal stripes on this little plaid pumpkin.
Step 4 add color
Now the fun part, making a plaid pumpkin. See the pink square you made when you overlapped the pink paint? That square is now your template to color a darker pink. You can use a hot pink like me or maybe take a mixture of the ballerina pink and hot pink. I wanted my pumpkin to be bright so I made sure my colors were vibrant. Think how cute this would be in more subtle colors, like pink and cream, or crazy colors like turquoise and green. whatever color you house is use those colors.
Step 5 gold stripe
Think of your favorite plaid shirt…. it always seems to have a tiny contouring stripe in a cool color. I choose gold tape for my little stripe but I also bought light pink and hot pink tape, any one of them would have looked darling. The gold is shiny and looks amazing with the sun catches it. I wish I could find this gold tape in the craft stores if any of you see it please tag me on Instagram so that I can grab some. I bought this tape from Amazon. I bought two rolls last year and am on my last little bit of the second roll I need to get more before Christmas!! yes, I just said Christmas insert eye roll here.
Step 6 stem
I’m sorry I don’t have a photo of me hot gluing the stem into place on the plaid pumpkin. Gluing the stem is must because after ripping it off it won’t fit right and tight when you are done painting it and want to put it back onto your painted pumpkin. Just use a tiny bit of hot glue or better yet just some run of the mill Elmers. Hot glue tends to melt the styrofoam pumpkins so be careful.
As you can see I color blocked a few other pumpkins I had. These were super easy to do, two colors tape off the sides paint add tape done. It is the easiest craft to do with kids. They will love painting their own pumpkin the color of their rooms. I would love to see your creations tag me on Instagram so I can showcase you in my stories. Happy Fall.


