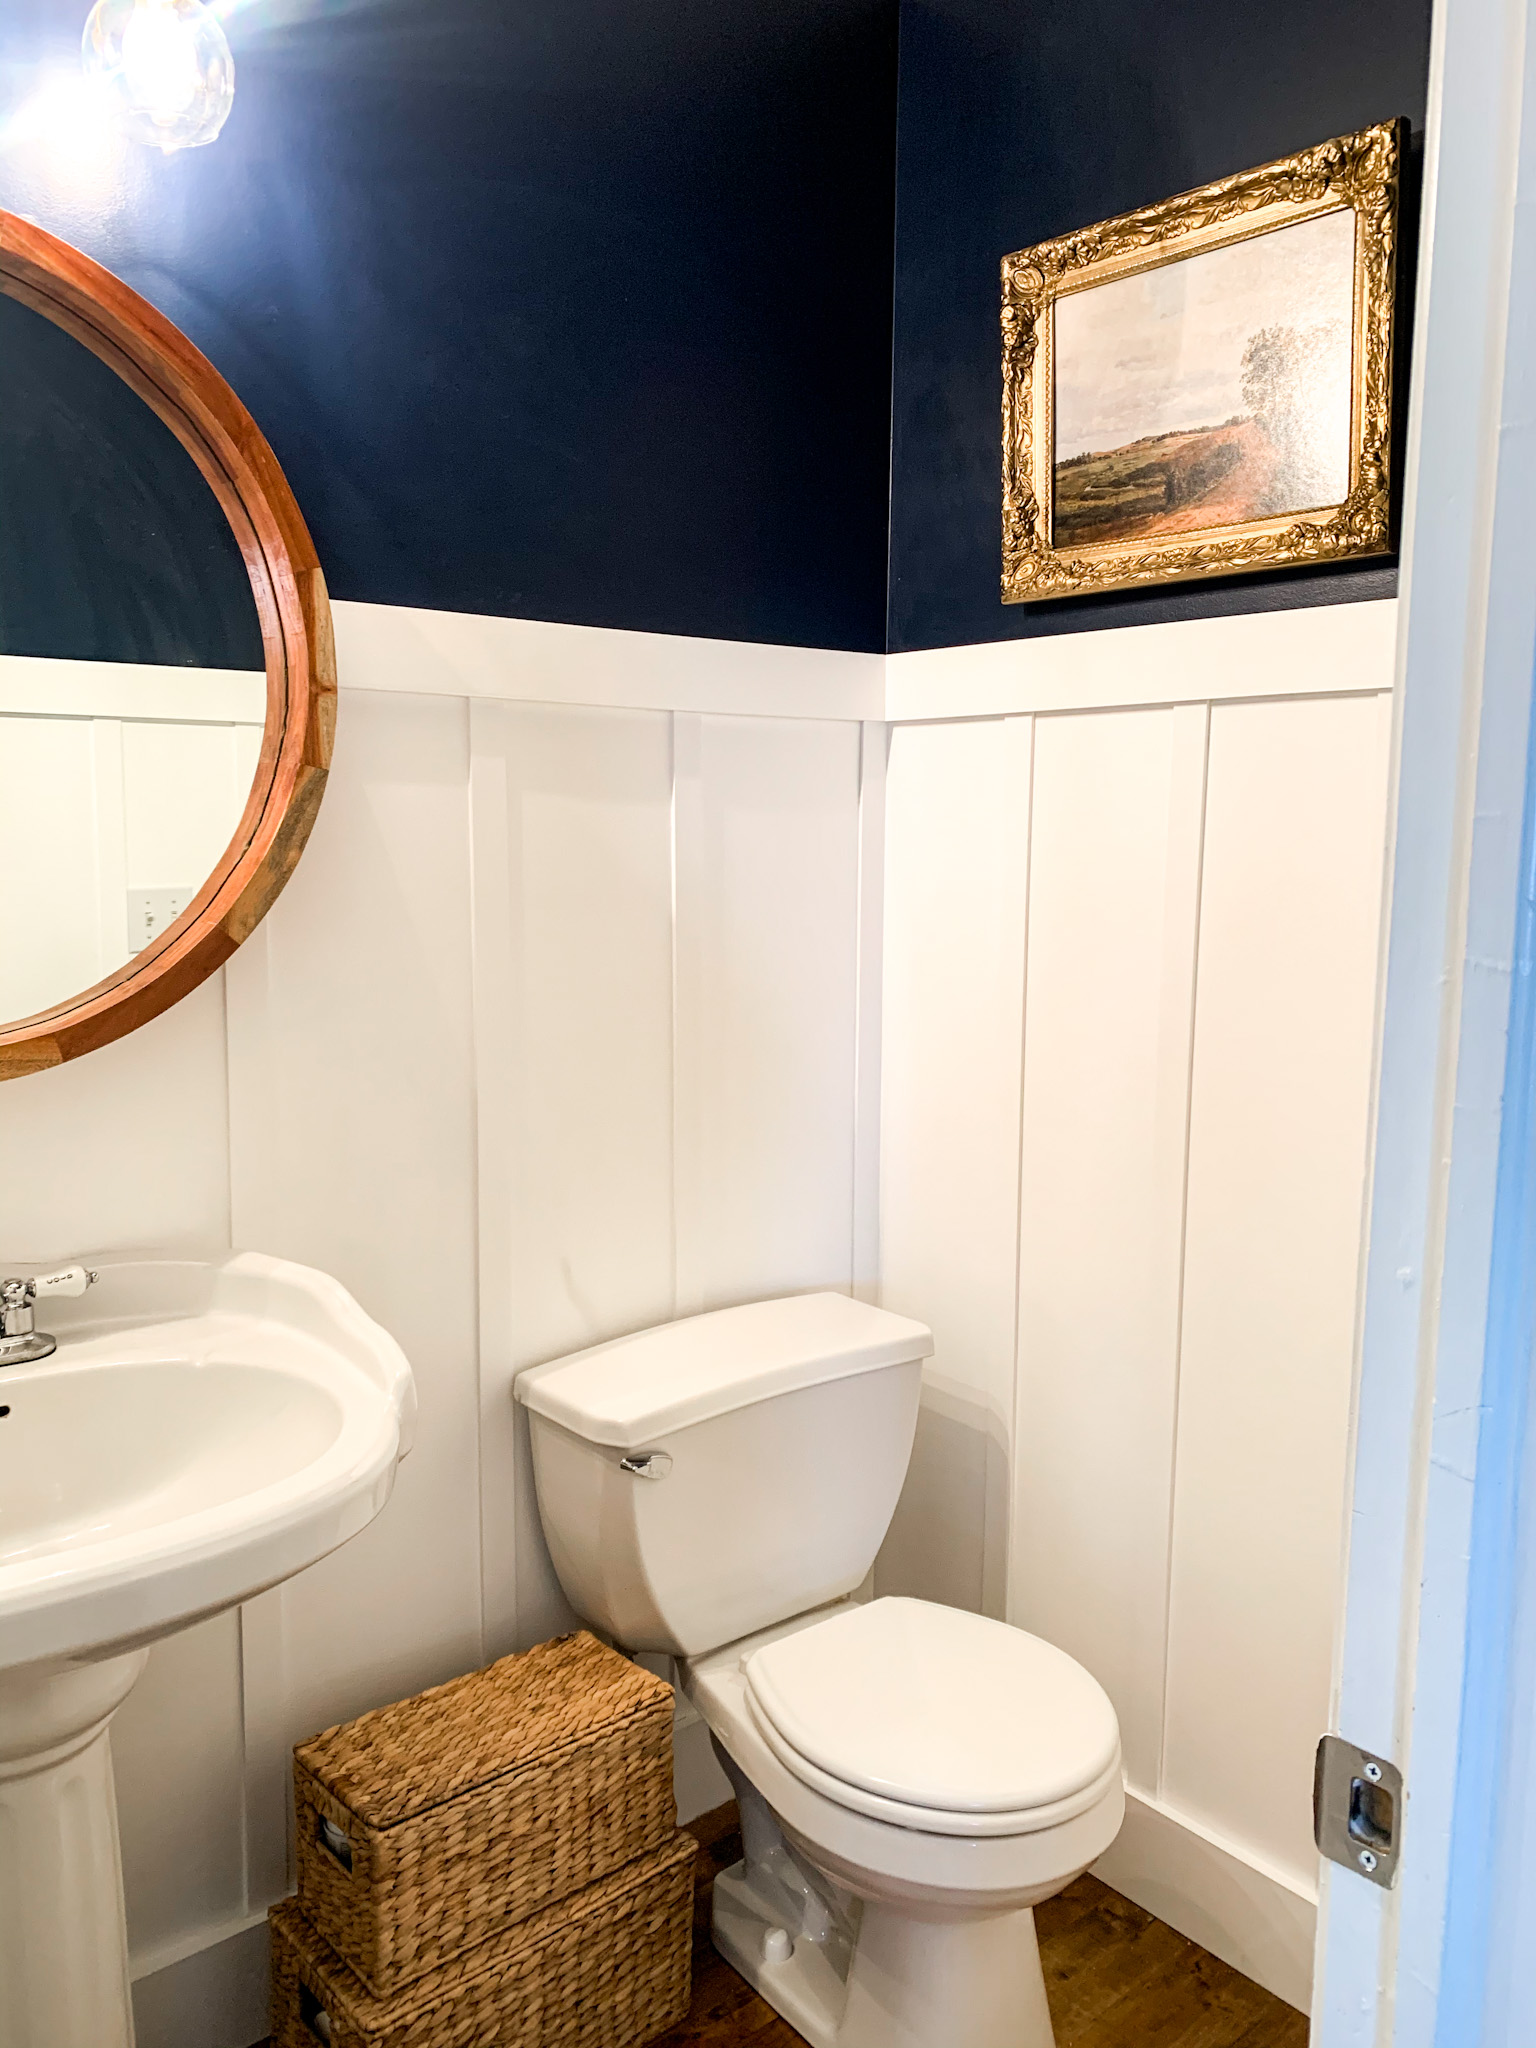
Darling Board and Batten you can do yourself !
May 4, 2021
 This board and batten bathroom just made this mini makeover perfection. I have been wanting to put up board and batten in my house for about 3 years. I finally did it, and after the fact found out this is the hardest room to figure out measurements for board and batten in any home. I hope I can give you a few tips on how to do it right. ps to see a before of this bathroom go look at the light install for this bathroom HERE
STEP 1
Measure measure measure. You will need lots of wood for this project so it makes sense to figure out all the measurements before you go to the Home Depot. I thought I’d just buy a few things so I could get started painting but come to find out I bought the wrong thickness I didn’t even know that was a thing LOL After I got my measurements it was pretty easy to figure out how much wood I needed. ok disclaimer I made my hubby figure it out, didn’t want to mess up twice.
Measuring tips for the board and batten
Ok so how do you measure what you need? I wanted mine super tall so I measured 2/3 up my wall. It’s completely up to you to get the look your going for. Next look at each wall in your small space and measure the space in-between the vertical pieces separately for each wall. If you do all your vertical spacing evenly it wont look right. It is kind of an illusion when seen all together in a room this small. You probably won’t have weird bump outs like we did, but odd sized walls, behind toilets, and our pedestal sink made it a bit tricky. Keep all the spacing about the same but don’t be afraid to take some liberties around fixtures.
STEP 2
Cut the base boards, and header pieces at the same time. They should be the same measurements. We chose to have the larger thicker base boards 1 inch by 6 inches. and a slimmer header piece 1/2 inch by 3 1/2 inches The vertical pieces should all be cut the same size. ours were 53 1/2 (see I wanted them tall) if there are a few discrepancies calk will be your friend. I used a chop saw but you can use a miter box and just cut them with a saw.
 STEP 3
After you figure out the spacing its as easy as brad nailing the wood to the wall. Of Course that’s my favorite part. I did calk all seams in this bathroom because your so up close to dang walls in that microscopic bathroom. Then I puttied all the nail holes with wood putty, (you could probably use calk but I didn’t want to sand) wiped off the extra and did a quick touch up coat of paint to the room.
This room took us a weekend to the board and batten but that’s because I was painting as well as installing the light (look how cute it is HERE) You could easily knock it out in a day if you had it all painted.
Now that i know this is an easy project I’m going to do this upstairs in the hallway to my attic rooms to give it more dimension. I’m kinda proud of myself for taking the plunge into a new project What projects have you been doing? Let me know on my Instagram THEGLITZYPEAR. If you want to see how to paint your bathroom tile then click HERE please no mean comments it was one of my first attempts at blogging LOL
