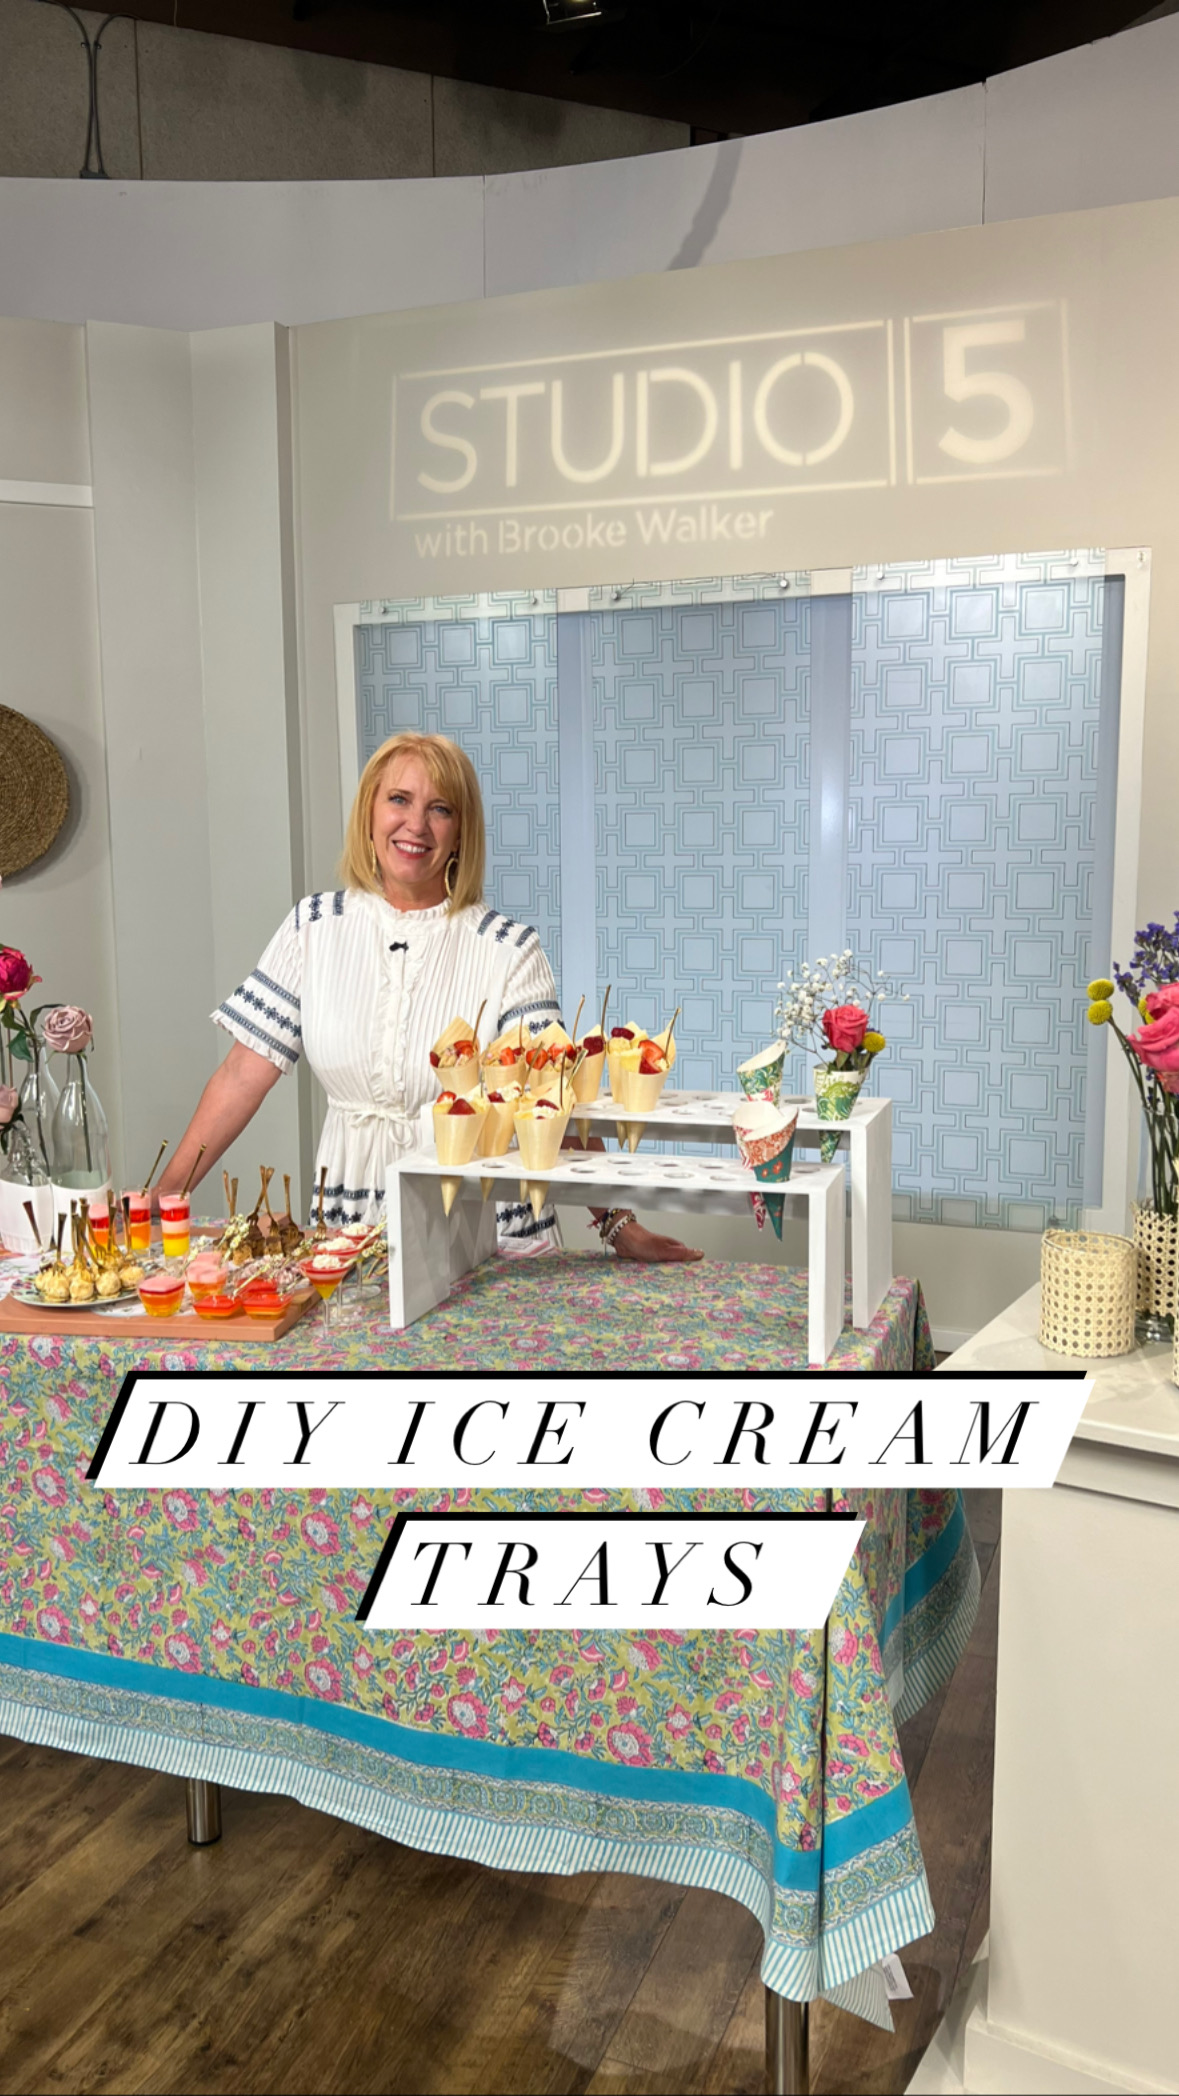
How to make the cutest DIY Ice cream cone trays
June 2, 2023

DIY ice cream cone trays was a fun and pretty easy project to do. If your comfortable with a few power tools then you can make a few in just a few hours. Here is the step by step to the DIY Ice Cream cone trays.

Things you need
- 1/2 inch MDF 1/4 inch MDF
- 1 1/2 inch spade drill bit and drill
- Nail brad gun or small nails to hammer on the legs (I asked for the brad nailer for my birthday last year. LOL
- Hand sander or sand paper
- Paint
Getting started: gather all the wood and tools you will need and don’t forget to wear eye protection. I couldn’t find my glasses and I got sawdust in one eye and had to take a break and wash my eye out! Just do it right. LOL

step 1 cutting the wood
For this step you will need to figure out how tall and big you want your diy ice cream cone trays. I loved the idea of having different sizes so they can nest on the shelf when storing them. Yes my organizer will always come out in the end. I felt like 10 inch’s off the table was high enough to make a statement and low enough so that i could reach it . then the nesting one was 8 inches tall.
So cut your 1/2 inch MDF in these sizes. you will need to cut the sides at 10 inch tall and 8 inches wide the smaller tray will be 8 inches tall and 6 inch’s wide. that give you your 4 legs.
cut the thin 1/4 MDF for the tops. The large top is 8 inches wide and 24 inches long the smaller one is 6 inches wide and 22 inches long.
My hubby did cut a back piece out of 1/4 MDF to make it more stable but I wasn’t going to LOL. For the large tray cut the 1/4 MDF at 3 inches tall and 24 inch’s long the small one would be 3 inches by 22 inch’s long

Step 2 Drilling the holes
I literally eyeballed the hole placement . I did cut a 1 1/2 inch circle for a template (actually I used a paper punch ) and just traced where I wanted the hole to be drilled. Used a 1/2 inch spade drill bit to drill out the holes. Tried to use a pilot holes on one board but it didn’t make a difference in the end on how smooth it seemed to drill.


Step 3 assemble
If you have a brad nail gun then this will be a breeze it comes together so fast. just clamp the pieces you want together and shoot a few nails in to the boards to join them. Use wood glue as well, but beware to wipe it up asap or you will add lots of time to the sanding step. Add the sides on first then attach the back piece.

Step 4 Sand
When making this Ice cream cone tray keep in mind that little hand will be grabbing cones or paper cones from this cute tray and you don’t want any rough spots or heaven forbid slivers. Used a Ryobi cordless hand held palm sander and it will only take you 15 min to sand both pieces. MDF sands up pretty fast. what did take me a bit of time was sanding the inside of the drilled out holes. I use a 1/2 round rasp (a hand held metal sander thing) and just put in my head phones and went to town on each hole.

Step 5 Paint
Using MDF is nice because its easy to work with and doesn’t split like wood but it sure does suck up the paint. Use a primer if you can and then paint paint paint. I would have spray painted it but I was out of white and I need to take this to studio5 the next day so acrylic paint I was and it worked out perfectly. I did sand in-between each coat so that I could get a smoother finish.
watch my Studio5 segment HERE
All in all creating DIY ice cream cone trays was a fun little project to do and I know I will be using it for lots of parties this summer. Let me know if you have any questions by DM-ing me on Instagram ! Happy summer ladies
Here are few more fun party ideas Giant party décor using honeycomb balls Ice cream cup party favors and games
