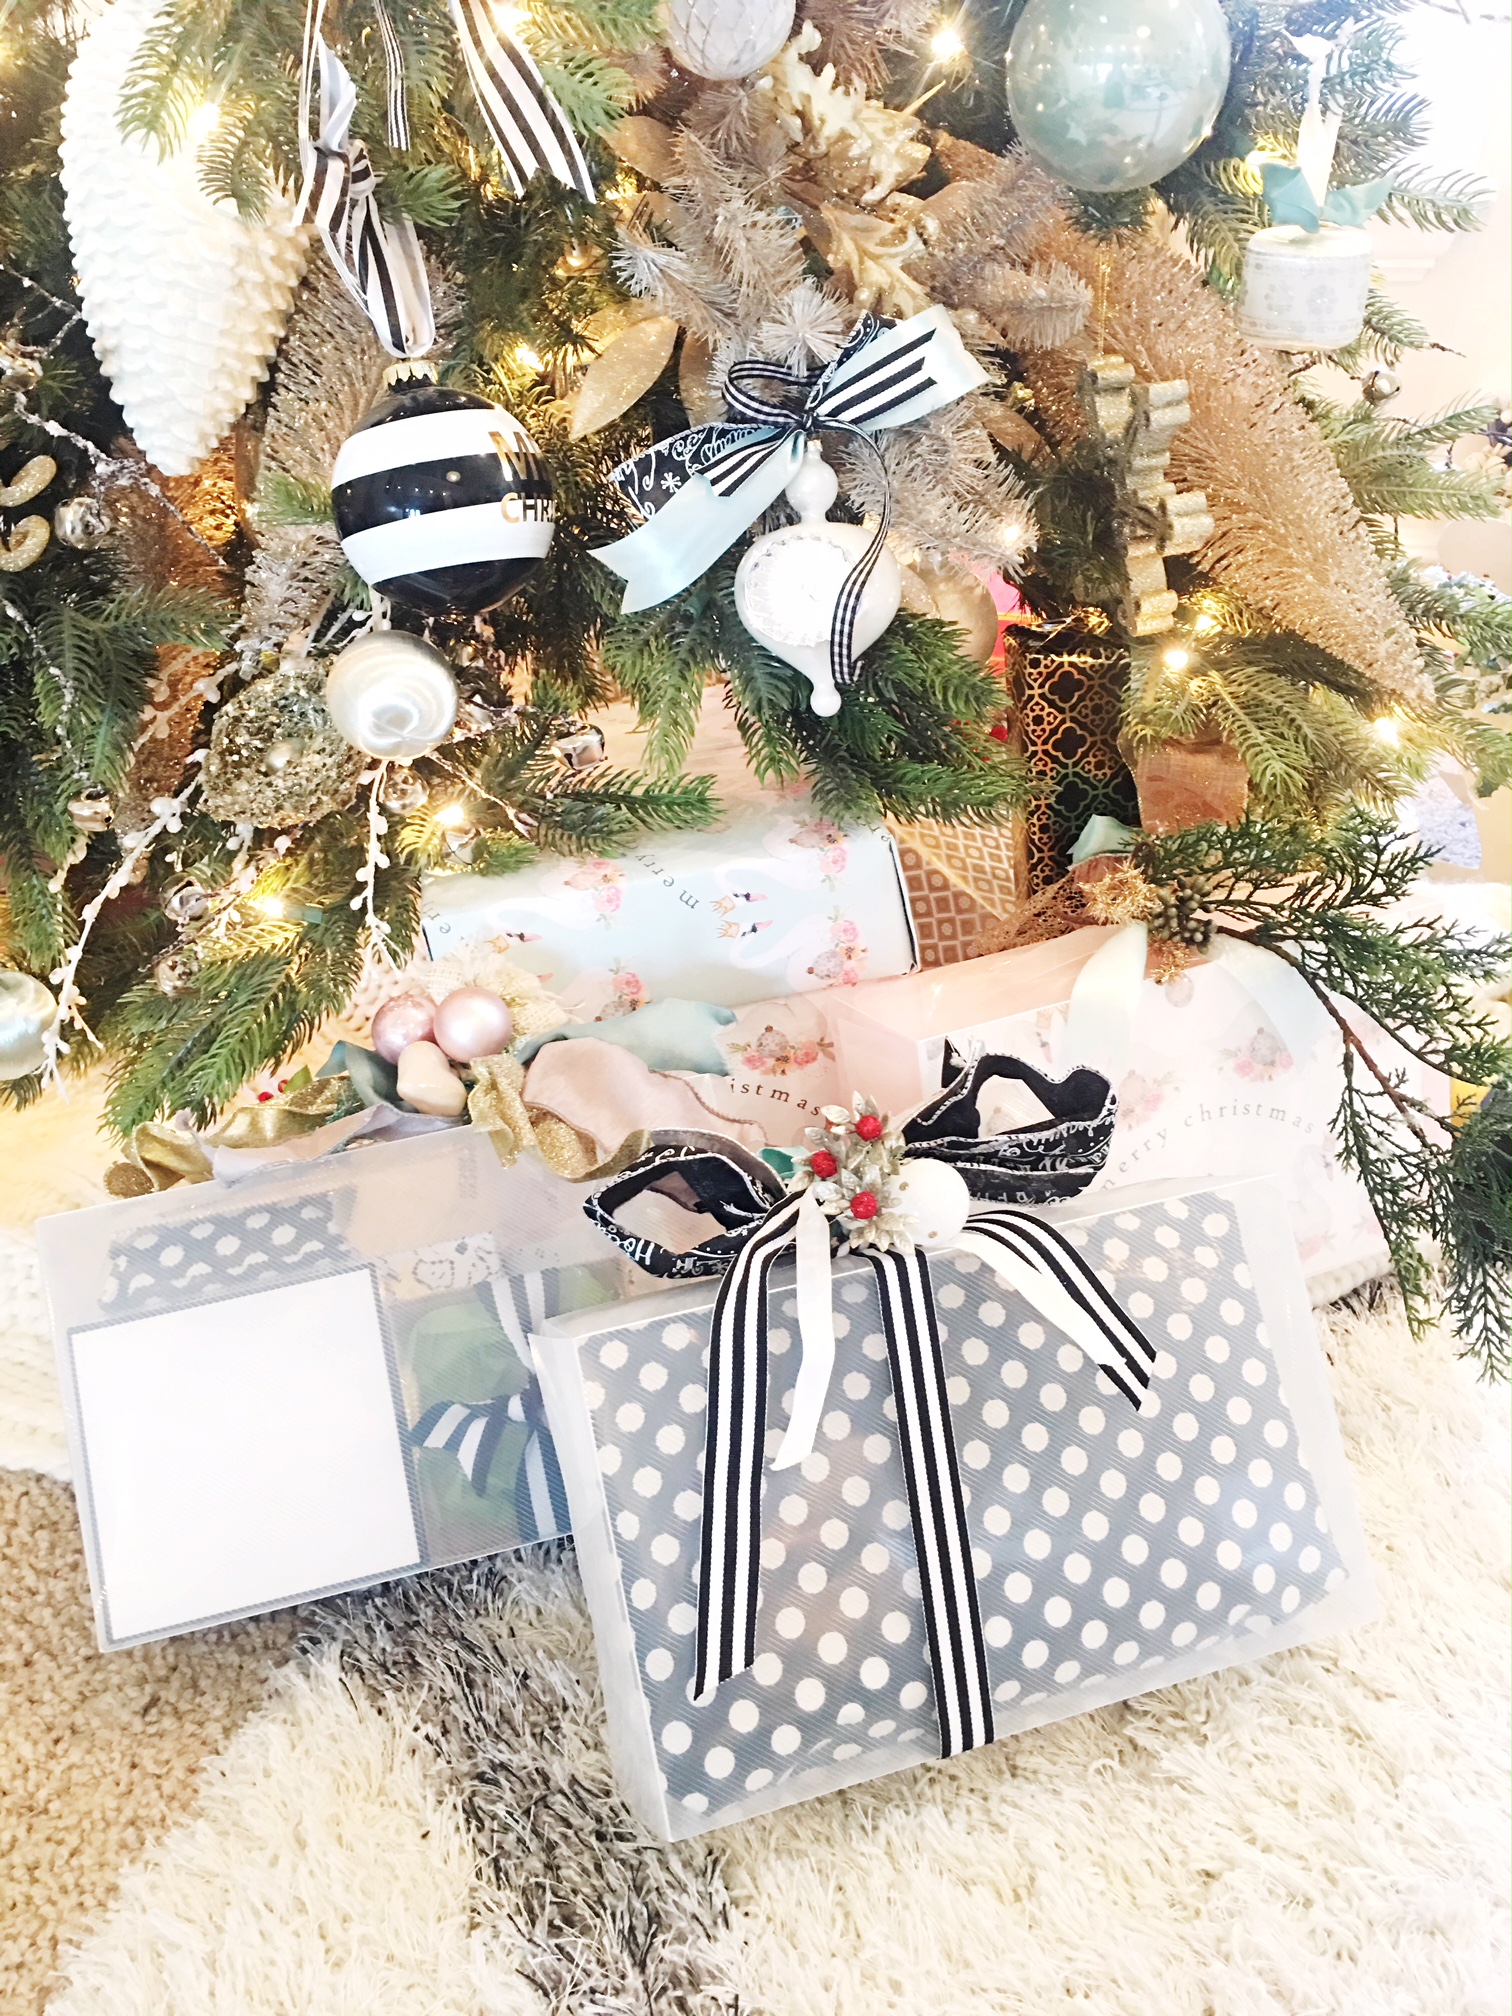
How to wrap show stopping presents with a frosted shoe box.
#2 DIY, tutrorials, free printables, videos, #5 organiation Decorating, crafting, Demo Content, holiday, sponsored post
December 11, 2017
 How to turn a Clear Box into Whimsical Presents
When I need clear boxes or bags I’m always ordering from Clearbags. This Holliday season I saw that they had these beautiful frosted shoe boxes and I was smitten! I knew exactly what I wanted my packages to look like under the tree and I just knew these would work for my whimsical take on gift wrapping. So When Clearbags sent me a few of these boxes I went to work on transforming them into darling little gift boxes.
The boxes arrive flat and with a few folds and pop you have a box. look how cute and modern this looks. I kinda softened it up a bit and disguised my boys Chrismas Eve jammies with pink tissue so that there would be no peeking LOL!!
Let me show you what I did to make them peek-proof I took the cutest printable from Ms. Craftberrybush’s website and made some 11×17 sheets of paper. I already used this paper to cover the outside of a box for another present and it was a nightmare, probably because the box was big and I couldn’t match anything up. So thankfully transforming this clear box was unexpectedly simple. First, I started by tracing the front of the box on my paper and cutting it out. Then I just taped it inside the box so that it would not slide around, I think the tape was unnecessary but did it anyway, Easy so far right?
Now that one side is peek-proof I wanted the rest to be pink in color so that my boys would not think this was for them. I just took their Christmas Eve jammies and wrapped them in pink tissue paper. There is no tape involved on this part, just wrap and roll the present in a few pieces of tissue until you can’t see what’s inside.
After you have wrapped your gifts in a few sheets of tissue paper put your bundle into the frosted shoe box. I added some extra tissue paper to the box to fill it up any extra space. This both helps the jammies from sliding around and makes the present feel solid! That just might be my OCD but I like a solid feeling present wink.
I can’t tell you how excited I was to so see how pretty the gift-wrapped present turned out! I was delighted with how whimsical it looked and so girly under the tree, even if it was for my son. I did add a junk bow to the top Learn how to make one here. This junk bow is more greenery than a bow but it is the same concept. Use lots of layers and textures to make a special present even more beautiful. Done! And not a single strip of sticky take is needed unless you want to tape down the inside paper, but it isn’t necessary!
After the first present was wrapped I was excited to wrap more. I thought I could make one look more masculine, by using my black polka-dotted wrapping paper. I was giddy that despite my son’s teenage size, I was able to do a soft wrap on his jammies and shirt and fit both in the box!)
I wanted to make this one look less whimsical and more boy so I did wrap it with a cute striped ribbon with a cute bow tied to the handle. I mean that handle made my bow look amazing. Here is how I did it.
1. wrap the ribbon around the box and cross through the handle. 
2. Tie a knot at the top of the handle then add your junk bow, which is stacked layers of ribbon, greenery, and ornaments.
The clear box in the background, with the huge junk bow, is filled with lots of little gifts like gift cards, chapsticks, and jewelry. This would make a cute present in lieu of a stocking. More on these mini presents later! Also, check out my Instagram this season for more ideas. It’s fun to think outside the box for wrapping gifts, or should I say think of how to wrap a cool box for gifts. I love this project thanks, Clearbags for sending me a few boxes, and by the looks of it I better order more!
This was a sponsored post from, Clearbags but all ideas, opinions, and photos are my own.


