dying your own ribbon
January 27, 2015
I know I’ve posted how to dye your own ribbon before. but today Ill so you again step by step just because its sooooo easy and the results will always be perfectly suited to your project.
first you start off with this amazing stuff. You can find it anywhere crafting supplies are sold. Its a misting spray and I have lots of different brands. I have even made my own colors by using dyes and diluting with water and putting in a spray bottle. I use seam binding as my ribbon, its very cheap and comes in spools of 100 yards. I get mine from amazon. they are around 10-13$ and they last for ever!!
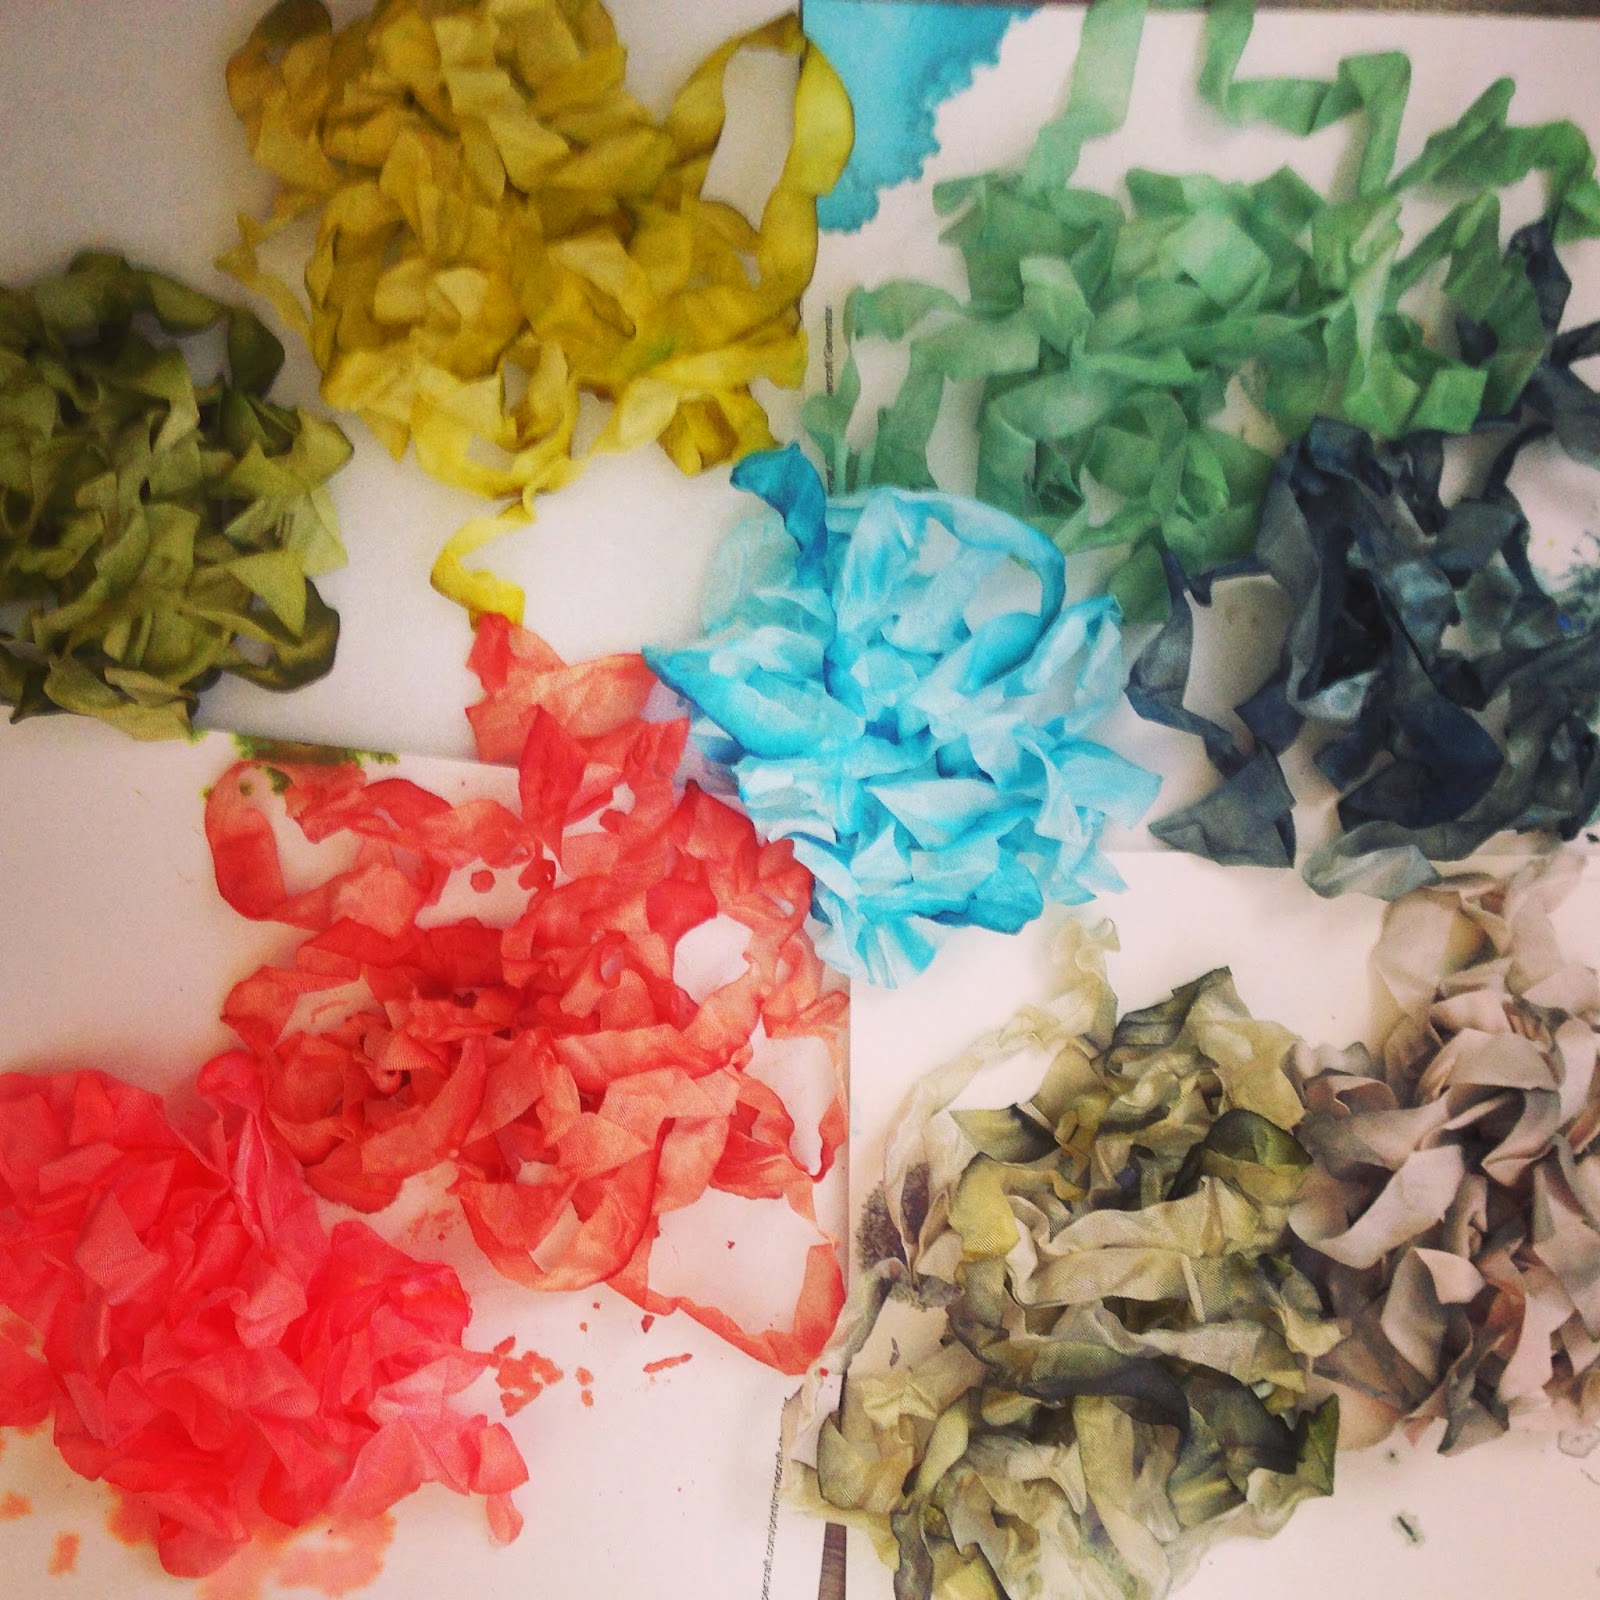
So there are a few ways I dye my ribbon. The first way is to crumple it up and spray spray spray! it will leave you with a variegated look that is so beautiful and natural. If you want a more solid look I would suggest you put it in a baggie and spray the solution into the baggie adding a bit of water to get every piece of ribbon.
I then pull my ribbon out of the bag and let dry in a clump so that I can get that vintage rumbled look.
Another way that I have found that is absolutely stunning comes from Heidi Swap. You tape you ribbon down to a wipable surface and then spray. You will get the striped effect immediately it’s so cool. blot the spray off with a paper towel and let dry or untape and dry hanging on a door knob.
This last one I discovered when I needed a muted color and wanted to see if dying a gray ribbon would bring me the desired results.
But seriously how cool is that? you can see the original color and the new color the dye made along with the polk-a-dots how easy and cute is that. I have boxes and boxes of ribbon I will not tell you how many but its more than any sane person should have, and I still love to dye my own ribbon. It is sometime the special touch you need for your tags and packages. so have fun experiment. and see what you can come up with.


