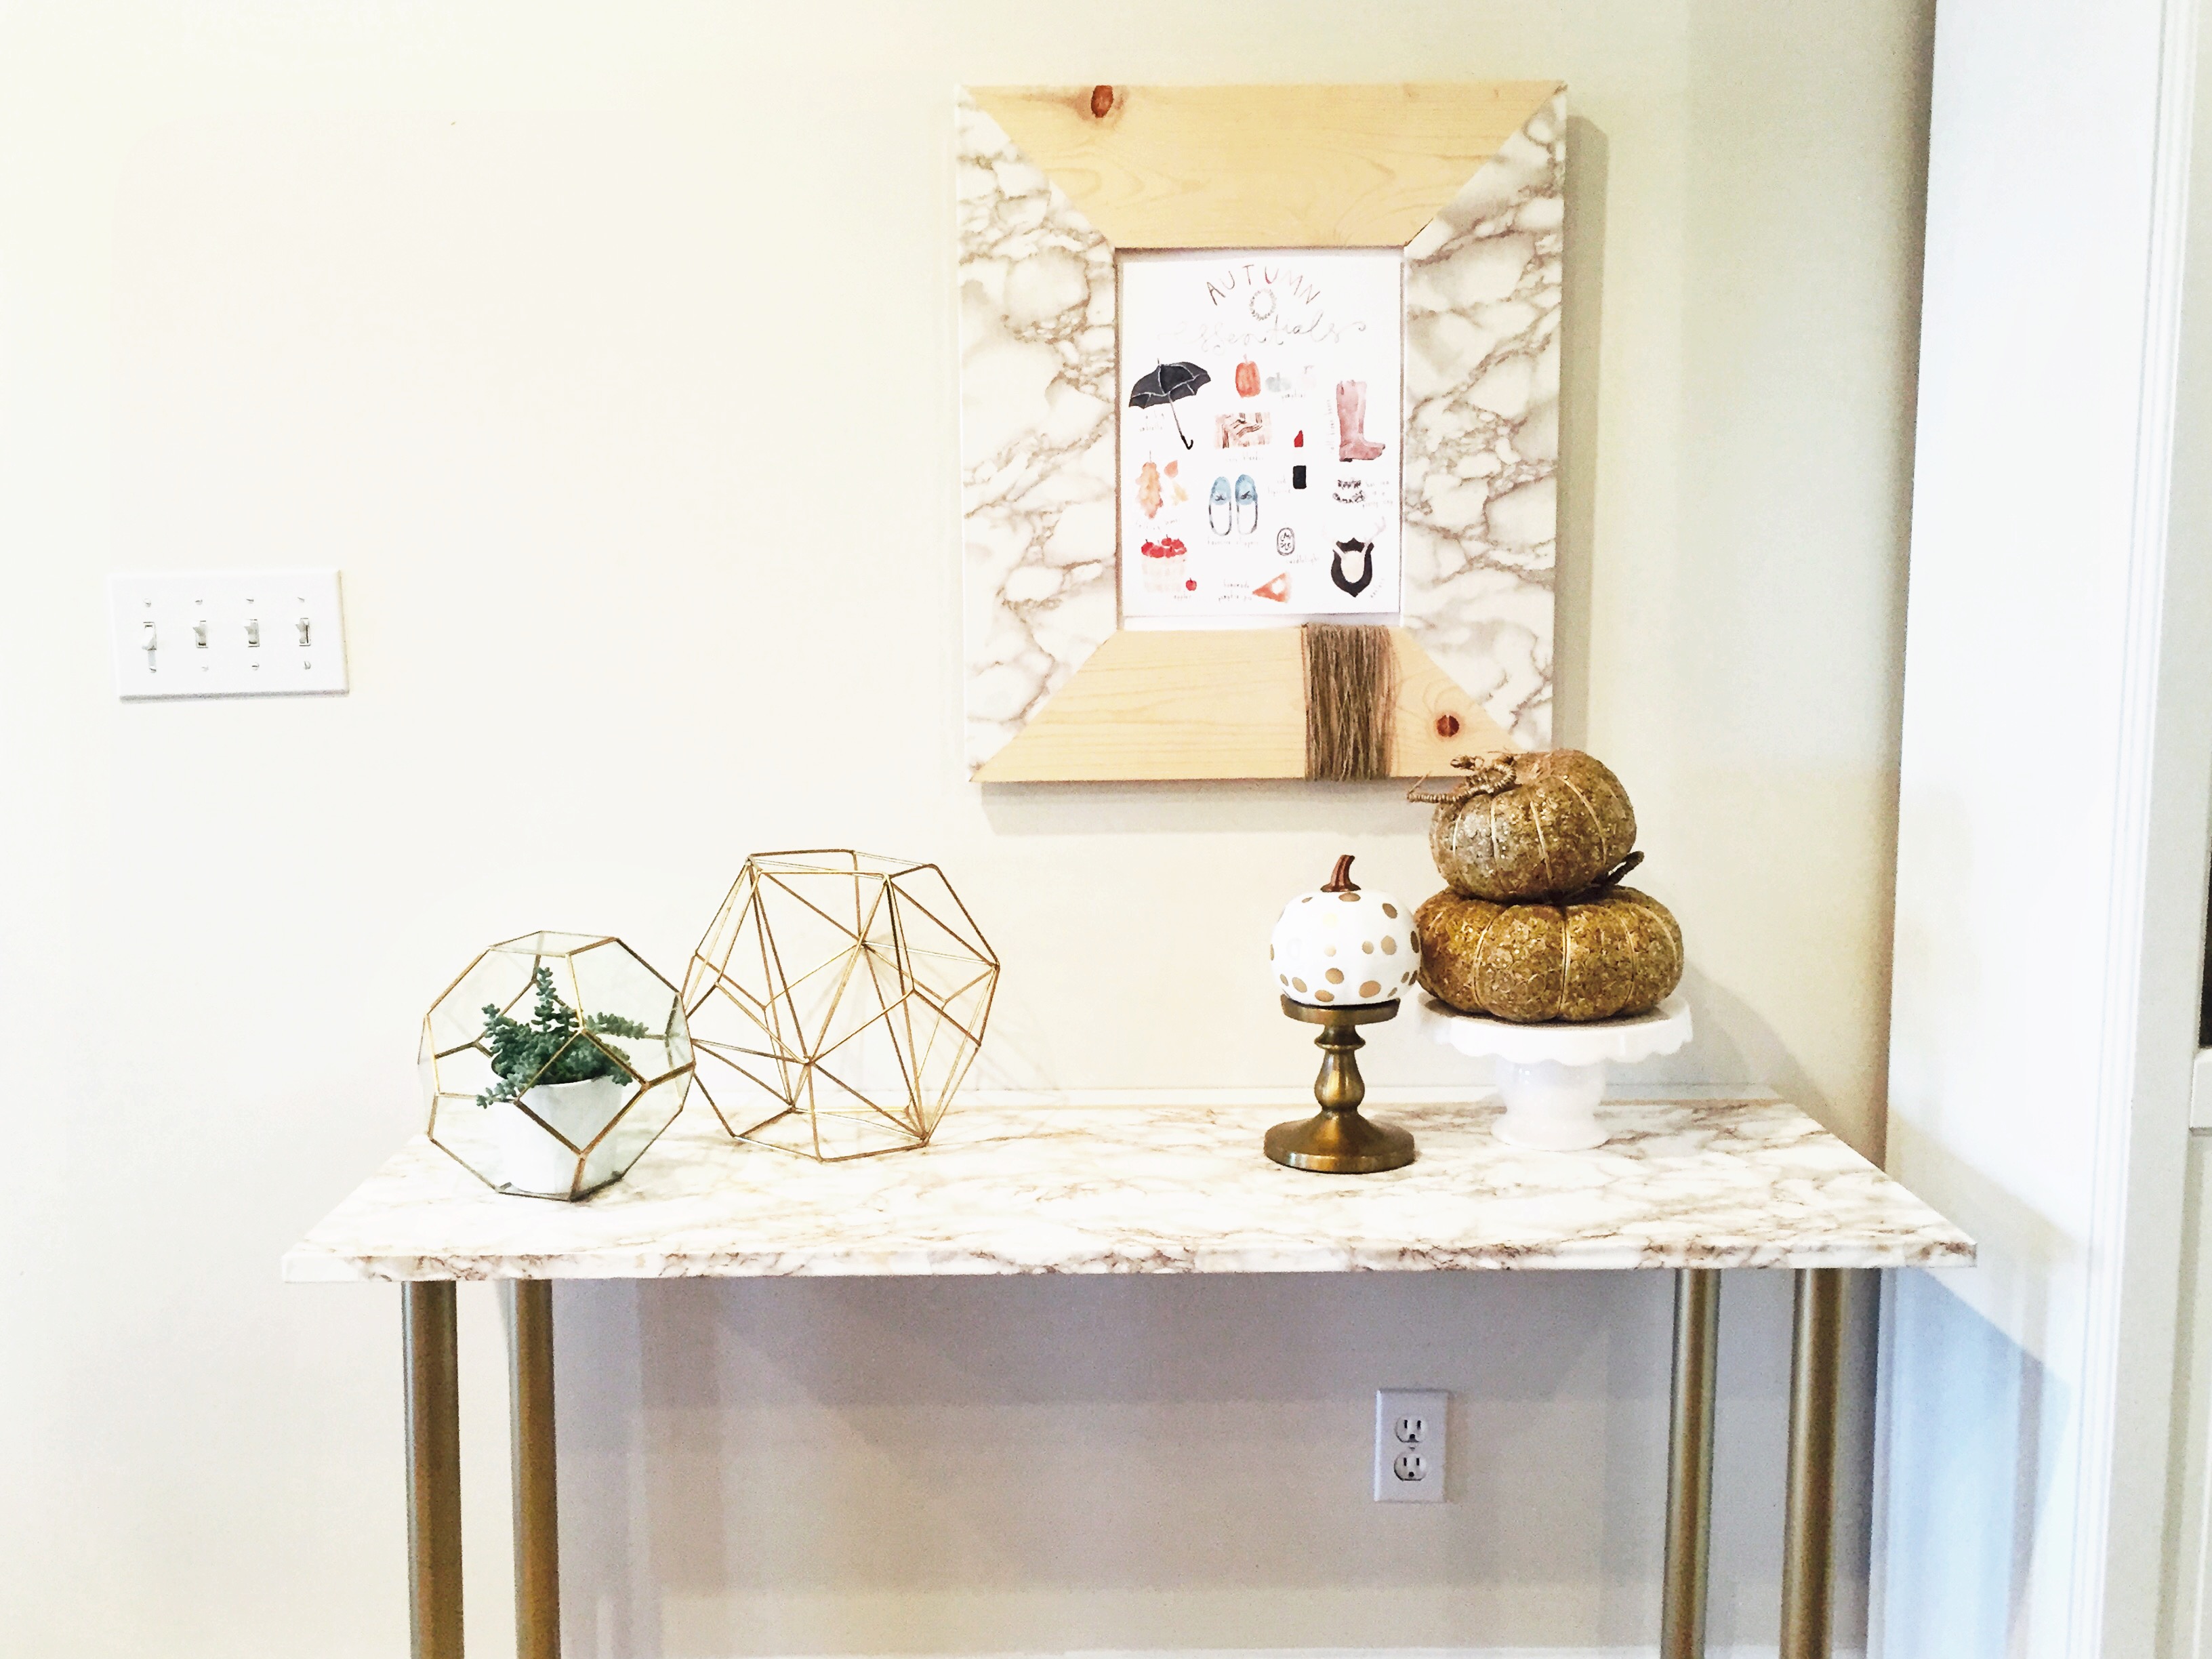
IKEA hack marble table with gold legs and trim
#2 DIY, tutrorials, free printables, videos, crafting, Demo Content, lifestyle living, studio 5, tutorial
September 27, 2016
I love a good IKEA hack, I’ve seen so many sofa table hacks but I wanted a faux marble table in my living room soooo….. I made one, here is my IKEA hack for a marble table with gold trim. This is the most inexpensive way to create beautiful furniture. (Marble contact paper) I love having things that are exactly the size color and finishes I want. (I used peel and stick in my laundry room too)
Step 1
Start with some legs from Ikea They are 4$ each and come in a few colors, however gold was not one of them. I got out some Rustolum spray paint, and three coats later I had beautiful gold legs for my faux marble table. I also sprayed them with a coat of clear poly, just to make sure it didn’t chip or scratch too easily.
An old desk top was going to be my faux marble table top but it seemed too big. I had my cute hubby grab me a piece of MDF from the hardware store and had them cut it to size. That way I got the perfect custom size.
I’m so in love with the wood and marble that have been fussed together, and the accessories that are popping up at West Elm and Crate and Barrel are so cool!! I wanted to try for a similar look with my sofa table. 

step 2
I sprayed the edge of the wood with white spray paint, not bothering to tape because I knew it would get covered by gold leafing and marble contact paper. 
Then I did a fun gold leaf strip next to the white paint. I’m always trying to glam things up a bit. Quick tip on the leafing, remember to wait about 15 for the glue to become tacky, if you are too impatient then the leafing won’t stick because the glue under the leafing won’t dry. I did tape off the painted part so I would get a crisp line but left the other side untapped because again it was going to get covered up.
Then the fun part add the marble contact paper. lay the wood table top on the wrong side of the contact paper and measure so that you have a good 3-5 inches overlap to the underside of the board. Turn the table over peel off the backing of the contact paper and place the contact paper onto the board, and smooth out bubbles with a credit card. 
step 3
The corners were a little tricky because I wanted them to look amazing. I Just cut the side piece strait in, right up to the wood and then folded it under. see photo below
Then cut the front piece straight up along the edge so you get a crisp corner. (please do not judge my fingernails, I’m a serious crafter and DIY’r LOL) 
Tips
If you seem to be getting a few bubbles that won’t go away simply use your hair dryer on warm to gently warm the bubble and them scrape away with your credit card.
It really wasn’t hard to create a marble table and didn’t cost a lot, it just took a bit of time but I completed this in a few hours and I’m loving the result! If you want to watch the T.V. clip then click here to see my Studio5 fun with marble contact paper.


