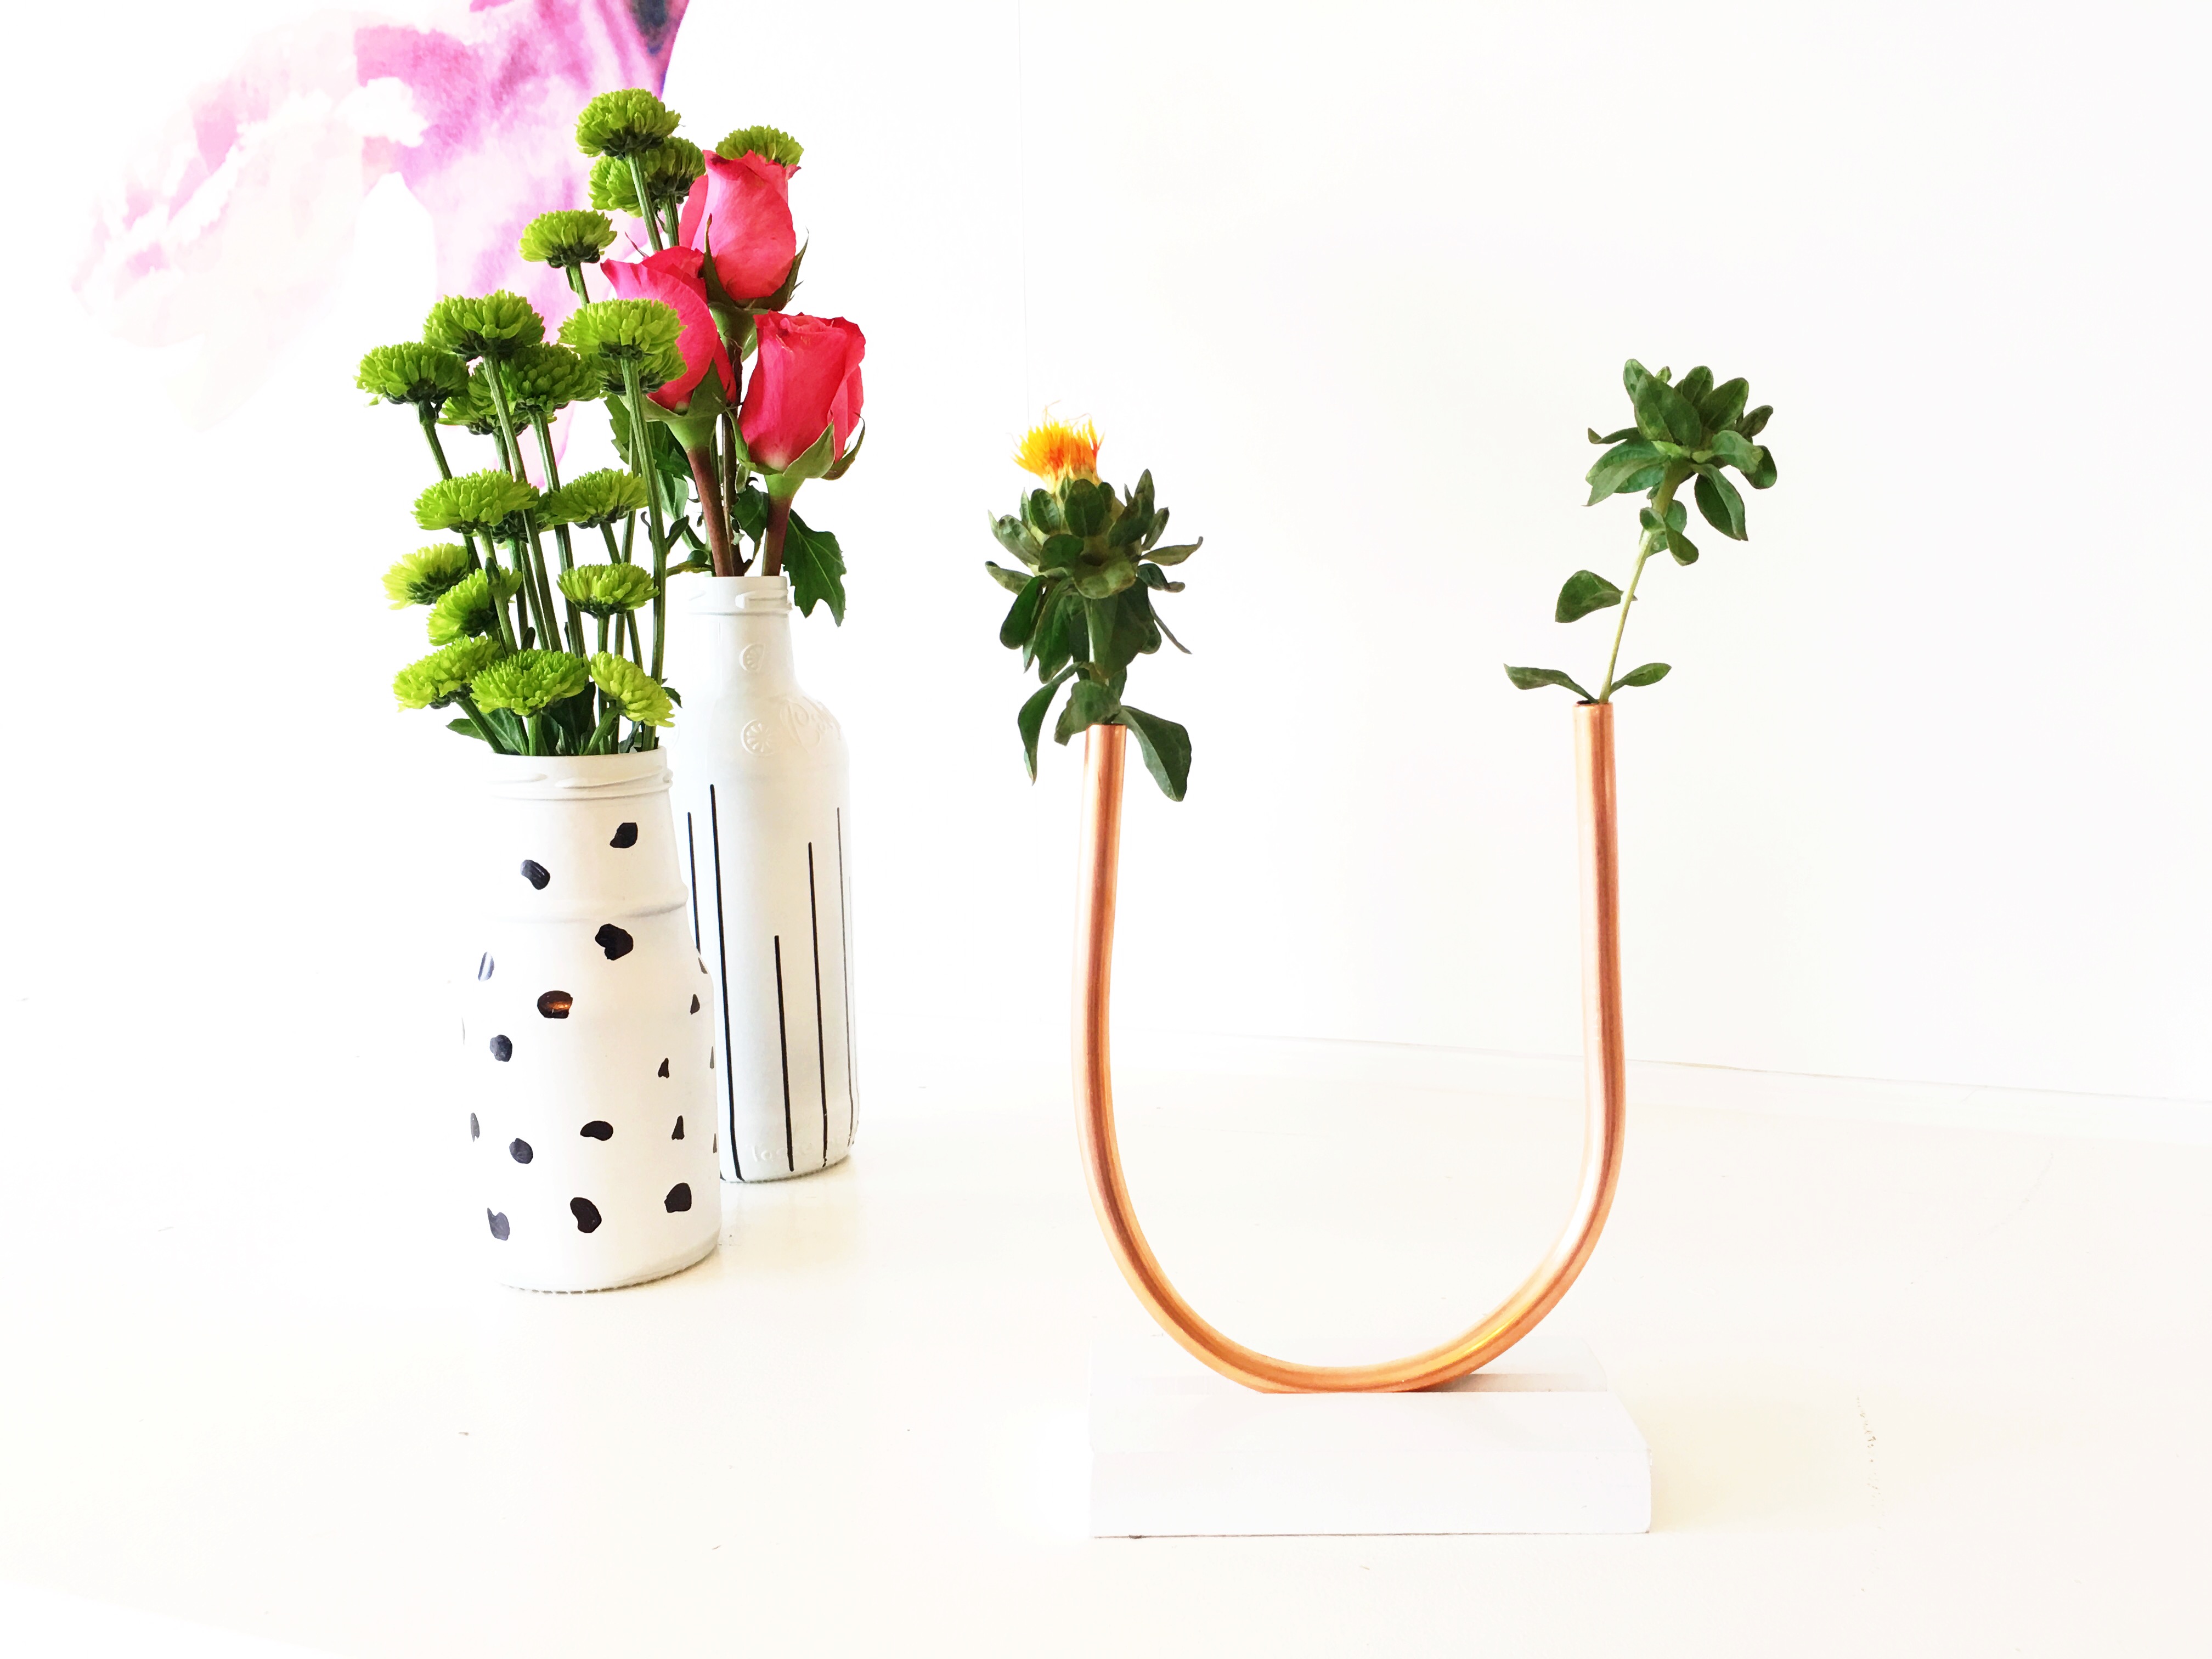
DIY Copper Modern bud vase
July 31, 2018
How to Make a Copper Modern Bud Vase
Hello, guys its been a few weeks since I’ve posted a fun DIY. I’ve been busy with a few weddings organizing and showers this summer along with having my sister and her cute family stay with us this July. I’m going to be so sad to see them go. However, it helped to have extra hands and helpers while I was crafting and photographing some fun projects. Today I’ll start this DIY Modern bud vase series with the most simple bud vase. This one is my favorite and I can’t wait to fill it with flowers from my garden and peonies next spring. I’m calling it the copper U DIY bud vase.

THINGS YOU NEED
- Copper tubing used for fridge repair
- Metal tubing cutters
- 2×4 or scrap wood for the base
- router or you can use a saw (harder)
- spray paint or stain

Step 1
cut your wood piece. To make an 8 inch vase you will want to cut the base wood piece about 5-6 inches long. I wanted my piece to be about 3 inches wide. I don’t think you need a huge base for this vase, because its a light piece and probably doesn’t need that much stability, however, I have boys who like to bump into tables and throw balls in the house sooooooo. Sand the edges and get ready to router out the middle of the wood. Depending on the size of tubing you get will determine the size of the groove for the middle needs to be. I wanted the copper tubing to show at the bottom so I wanted the grove to be as shallow as my hubby could make it. The reason you need the grove is to make the U shape of the DIY bud vase more stable. You could also use a small saw to make a small groove in the wood as well as drilling a few large holes in a connecting line to hold the pipe in place. And if you skip this step and just want to glue it to the wood make sure you use a clamp and good glue like E6000 or Gorilla glue.
Step 2
Paint or stain the base of the DIY bud vase. I went with stain at first because it was going to sit on top of my white banquet. But after seeing the copper next to the white table I like the more modern feel of the white spray painted wood. The wood stain would look so cute for a boho feel in an all-white room like my office. Gosh, I better make two of these!
Step 3
Cut your tubing to the size you need. This part is totally up to you, you might want a tinny DIY bud vase or a larger one. Mine was 14 inches long before I curved it, and my DIY bud vase was 7 inches tall after I finished it all.

Step 4
Time to create the U shape of the copper tubing. This is super easy to do. I found that my Alexa was the size I wanted, but worried that the copper was too strong. It seemed to be bendable enough not to hurt my Alexa, however, I would use a paint can or something not so delicate. Seriously what was I thinking?

Step 5
This part is easy you need to adhere the copper to the wood base. My tubing fit well into the grove but would tip over if I didn’t glue it down. I tried to super glue it but that didn’t work so hot glue is what it took to stand up properly. The fact that hot glue dries fast was a bonus I just held it in place for a few seconds and I was done. With the super glue I was propping it up and it was slipping all over. Lesson learned.
So there you have it not very hard, you just need to have the right tools and a little patience to get all the steps right. I love the modern look it gives my dining room and I can’t wait to take more photos of it to share on my Instagram.


[…] tutorials on making your own modern decor, using bud vases. Modern DIY bud vase centerpieces and DIY copper bud vases I think I went a bit crazy but its so easy why not and with the upcoming holiday season these just […]