How to tie a cute ribbon bow
December 10, 2018

How to tie a Cute Ribbon Bow
I love giving cute gifts but even more I love wrapping them up super darling. I feel with all the gift cards and digital gifts sometimes the old fashion way of wrapping is a lost art. Let me show you how easy it is to make this cute ribbon bow. 
What you will need
- ribbons of all kinds I used seam binding (my absolutely favorite ribbon) something wide something sparkly and something with texture velvet or grosgrain.
- a sprig of holly
- cellophane bag I like the 8×10 size for boxes of crackers or larger gifts.
- add-on ornament if you are wapping a larger gift

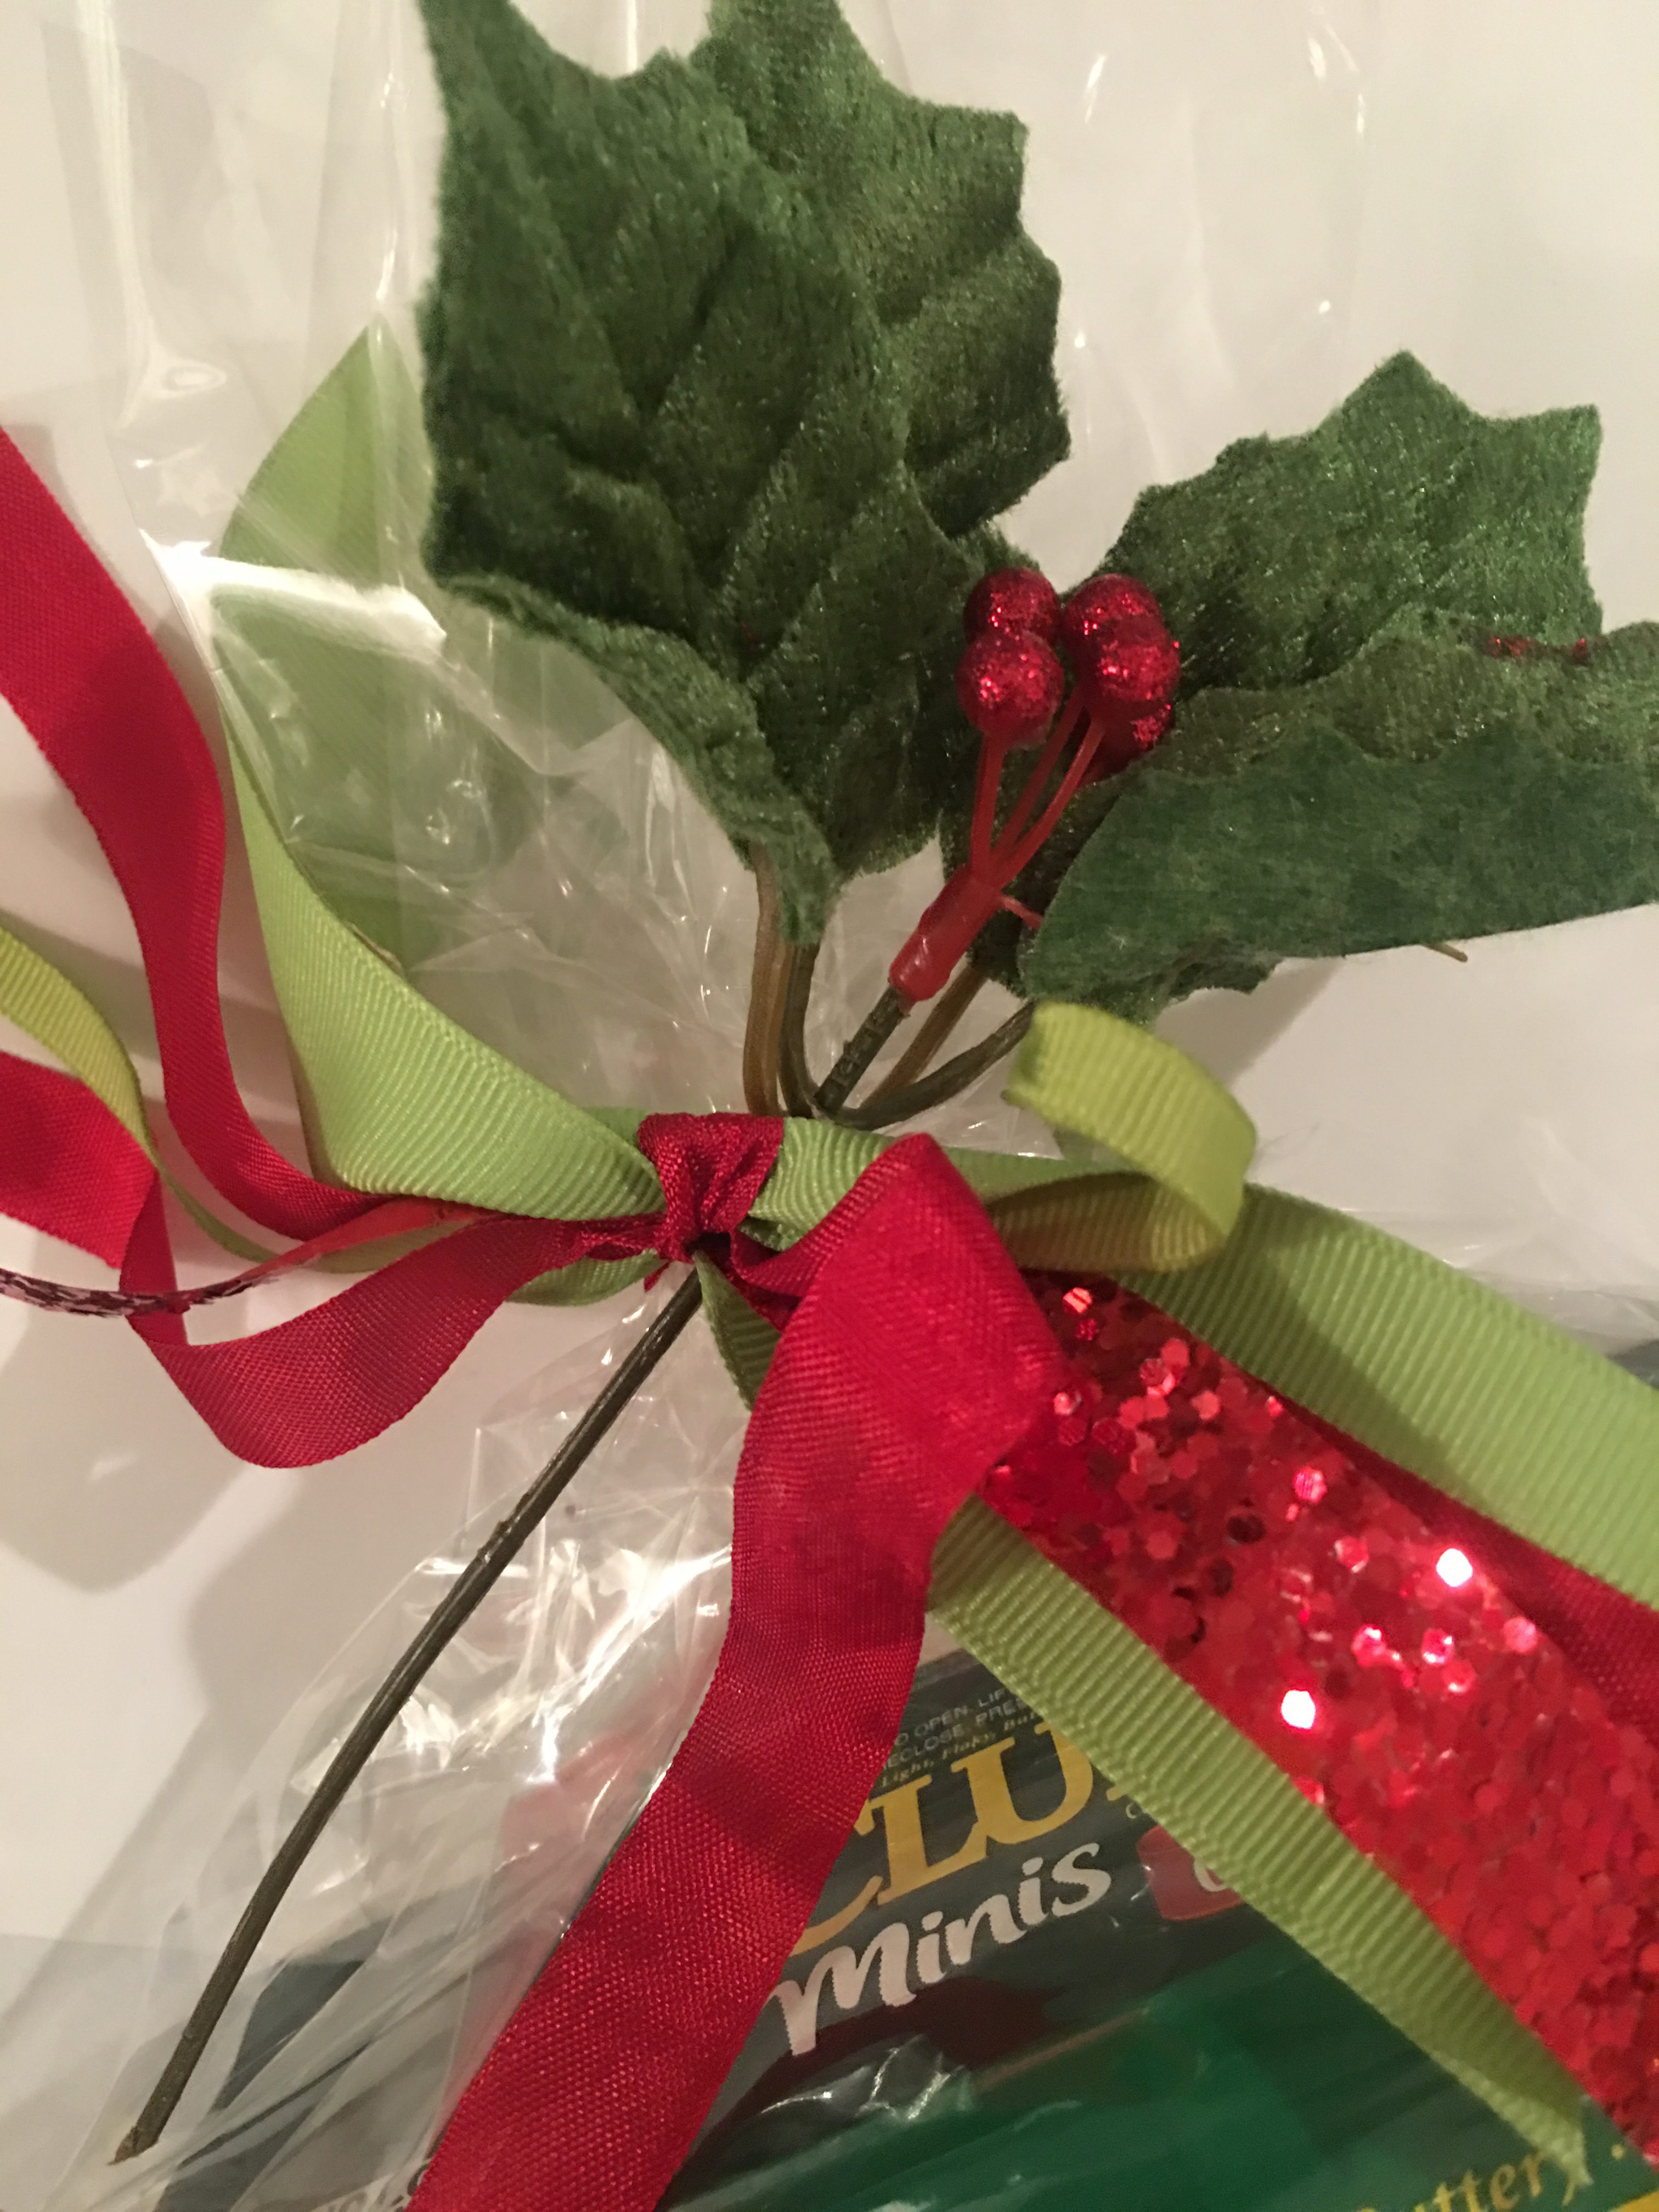
Start by laying out your ribbons on your work surface, starting with the wides ribbon you have I like putting the stiffer ribbons in the middle and layering the thinner and more floppy ribbons on top and bottom, because they will hang straight, as were a wire or a thicker ribbon will not be as limp.

Tie the seam binding around the stack of ribbons you will have to either flip the stack over so that the tied part is behind the widest ribbon or just twist it after you get the knot started.


Now you are left with your ribbons and long tails of the seam binding. you can tie your ribbon to your bag so that the cute part is in the front and the simple bow is in the back. Tieing a bow in this fashion lets the person receiving the gift to reuse the ribbon bow again on something else because it has already been made.

Next, after you have tied the bow, add the cute holly or berries. you can even cut up a pick you already have, or use fresh greens from your trees in your garden.

You are going to want to cut some more of the seam binding to add to the tag. slip the seam binding under the ribbon bow and tie the tag to your cellophane bag.

If you have a larger package like this, I love to add a hanging ornament from the ribbon bow as well, using the same technique as the tag. See you can take a simple box of crackers and turn it into the cutest little gift with a few ribbons and cut tag. If you want the printable tags I used in this project click HERE. Printable Neighbor gift Tags.

[…] and if you want to make the darling bow, click onto the next post to see how to layer and tie this cute ribbon bow! (How to tie a ribbon […]