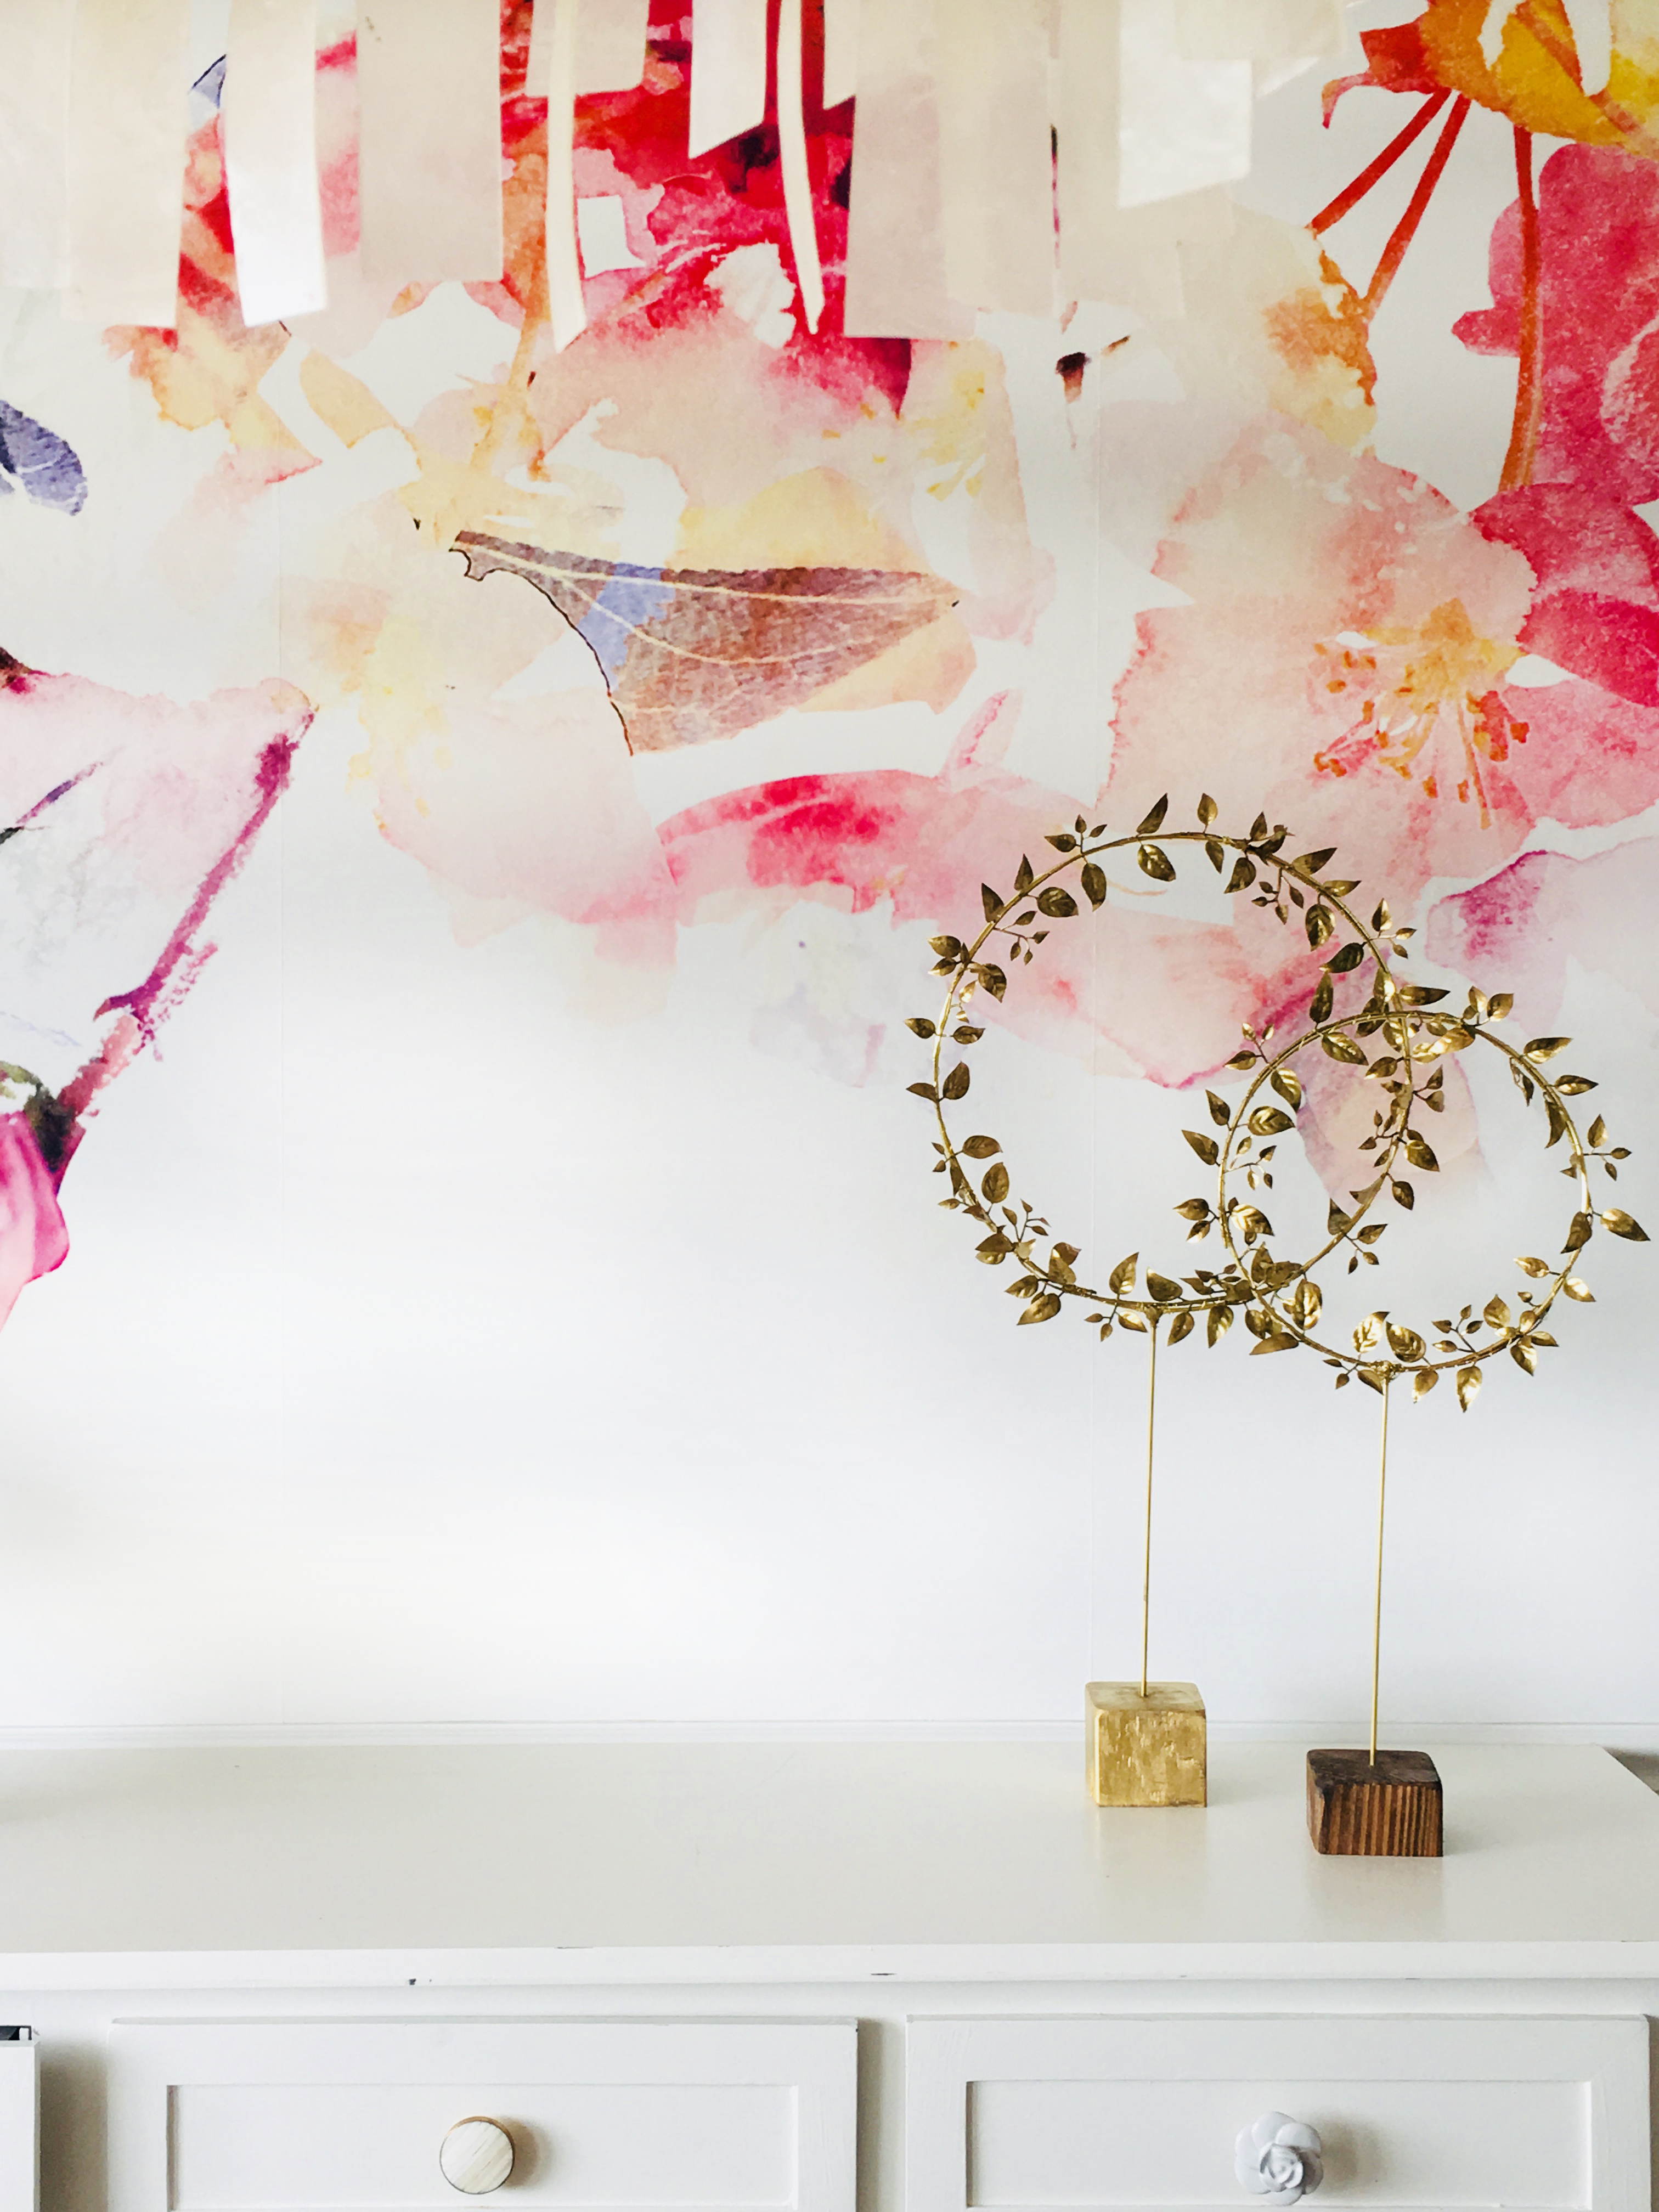
make a standing wreath for you Easter table
#2 DIY, tutrorials, free printables, videos, crafting, holiday, kid things, lifestyle living, parties, studio 5, tutorial, weddings
March 19, 2018
How to make a free-standing brass hoop spring wreath for your table
If you saw my last post I created the cutest little spring wreaths for my Easter side table. I’m so excited how sweet and springing they were! I love the delicate flowers and the simple gold vines that covered the brass hoops. It is a really easy way to make a simple spring wreath don’t you think? I decided I wanted to up the glamor on these little beauties and see if I could get them free standing on my Table. I was playing with the idea of making tinny ones for a place setting name tags I mean how darling would that be. So off I went searching for brass tubing that I could use to make this happen. Heres what you will need if you want to turn your modern spring brass hoop wreath into a free-standing masterpiece.
 What you will need for you spring wreath
- Brass macrame rings you can get silver ones at Hobby Lobby
- Brass tubing
- glass glue
- wood block for a base
- E6000
- stain for the wood or spray paint
- marble contact paper to cover the base this is optional
Yes, its a lot of metal things but this was so fun to try and looked pretty great in the end. Let’s get started. At first, I thought it might be easier to put the flowers on the spring wreaths first then attach them to the brass tubing, I did, however, have a little trouble with some of the flowers coming off from all my manhandling the hoop. So if you glue them together first before actually making the wreaths it might be a bit easier to work with. with that being said once you assemble these babies they are very delicate and might break if you are trying to put lots of greenery and flowers onto your spring wreath. Sorry I’m not very helpful, I did it both ways and I was very careful and it worked, so be delicate! Live and learn right?

First, cut your base
I cut my wood bases from blocks I already had. I used a 4×4 piece of wood to make the larger bases. I also used a triangle from a 2×4 to make a smaller one, and the baby ones were just square little blocks I bought at Joann’s. you can stain the bases, cover them with marble contact paper, or spray paint them I did all three, it just depends on what kind of centerpiece you are looking for. wood for a rustic boho like feel or marble for a softer more sophisticated look. drill a hole the size of the brass tubing so that it fits snugly into the middle of the block, you may or may not have to hot glue them in depending on how close you get the drilled hole to the size of the brass rod. 
There were several different sizes of brass tubing at Hobby Lobby I bought all three sizes, the smallest one I had to just nail in a small skinny nail then pull it out to make the small hole I needed.
Crimp your brass tubbing
Lets put these guys together! Since the brass tube has an opening its a sturdy base for the rings, but I didn’t want much of the brass sticking out past the ring so I squished the hole together a bit and it looked more seamless when I glued it to the hoops.
Glue your pieces together
Gluing these things together was crazy! my go-to E6000 worked ok but it was a little bit bendable it wasn’t solid like I wanted it to be. So I used a glass glue instead and it worked exactly how I wanted it to work! invest people if you want this to last. I found this out after I had glued all my wreaths so I only have two really good stable ones. 


Add the flowers
Now for the cute flowers that I added around the brass hoop. I purchased little bundles of flowers called picks and then ripped them apart once I got home. If you find the right kind of flower you might want to get a few picks so you can make a long chain of the flowers you want. I glued the flowers together and then wired them to the hoop. It was super simple.

I didn’t need to wire the little ones together I just used dabs of hot glue. however on the big gold ones I did the other day I used wire to attach the flowers. I did use extra wire just to wrap the brass tubing to the wreath for more stability but if you use the glass glue you don’t need to do this. And now you have the cutest little-standing wreaths just perfect for place cards or for home decor just depending on how big you make them. see how cute the medium spring wreaths look on the table! and the little ones are darling for place card holders. 


